Manage actions for a business rule
The Actions tab of the Create Rule or Edit Rule page specifies which action the business rule launches once the conditions are met.
To open the Actions tab:
-
Navigate to Administration > Program Management > Business Rules.
-
Do one of the following:
-
To create a rule, click the New button and select a rule type. The Create Rule page opens.
-
To edit a rule, double-click it in the table. The Edit Rule page opens.
-
-
Click the Actions tab.
-
View the Actions tab for a
 launch rule
-
View the Actions tab for anoverride rule or a worker rule
-
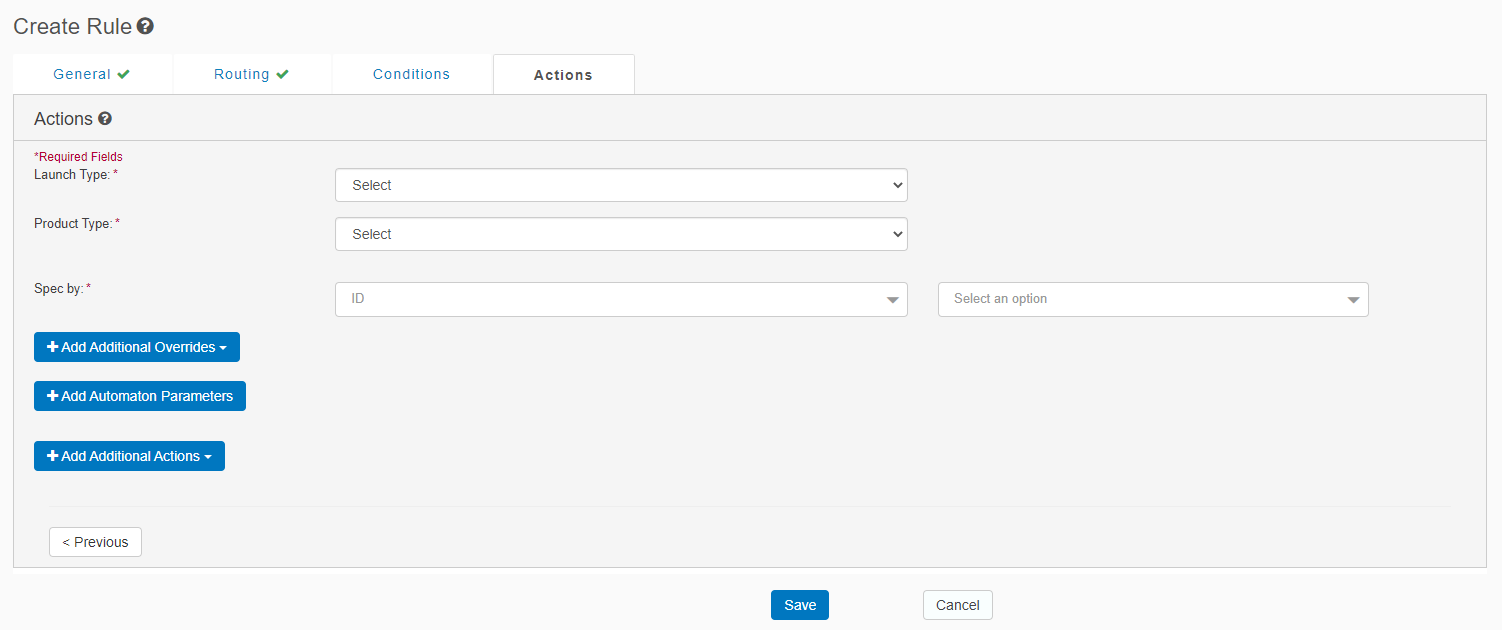
Enter or update the following fields in the Actions tab, which are supported only for a launch rule. If you change tabs or click Save before populating the required fields, then the tab displays a red icon and the required fields are highlighted in red.
| Field | Description |
|---|---|
| Launch Type |
Select one of the following:
|
| Product Type |
Select the type of response.
|
| Spec by |
Select one of the following specifications:
Select |
-
Click Add Additional Overrides to display override controls, which are supported only for a launch rule. If an override control is specified and the value matches, this prevents the action from launching, even when the rule conditions are met.
Tip: Use this section to change any default settings that are in either a C2C or chat specification (as described in Launch rules), such as the chat theme or the default rule behavior, for example, ignoring agent availability.
| Field | Description |
|---|---|
| Agent Exit Line | A message displayed when an agent leaves the chat, which overrides the rule. |
| Agent Name | An agent name that overrides the rule. |
| Auto-Opener |
|
| Automaton | Select the automaton from the drop-down list. |
| Automaton Specification |
Legacy option for defining a VA specification. However, it is not required for Mix-based applications.
|
| C2C Theme |
A click-to-chat theme. Note: Relevant only to the Reactive launch type.
|
| Chat Specification |
|
| Chat Theme |
|
| Chat Theme - Embedded |
A legacy chat theme. Note: Relevant only to the Reactive launch type.
|
| Check Agent Availability | Select Yes or No to check agent availability. |
| Check Agent Availability Interval |
The agent availability for an active reactive rule on the page is rechecked at this interval, in seconds. If the agent availability status has changed during this interval, then the chat button’s state updates accordingly. Note: The minimum recommended value is 45 seconds.
|
| Customer Name |
|
| Email Specification | An email specification. |
| Ignore HOP | Select Yes or No to set the rule to ignore the hours of operation for the agent group. |
| Page Element ID | The page element ID for the C2C specification for legacy "Chat Application Type" rules. |
| Queue Messaging Specs | Select a queue messaging specification(defined in a chat specification) from the drop-down list. |
| Script Tree | Select a script tree from the drop-down list. |
Note: Ignore the Add Automaton Parameters button. This is a legacy item that is no longer required for current rich-media configurations.
-
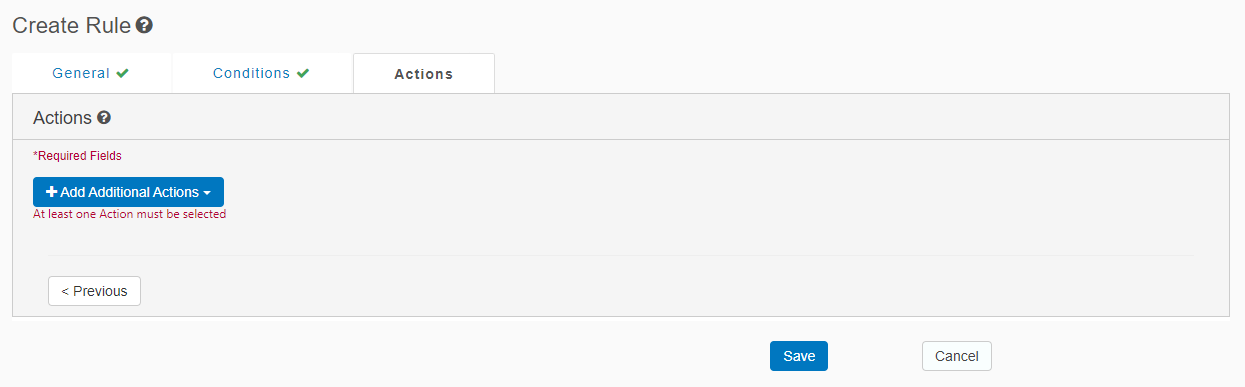
Click Add Additional Actions to display controls. This is supported for all rule types.
| Field | Supported rule type | Description |
|---|---|---|
| Clear Map Variable | all | Clears all key value pairs from the map variable. |
| Fire Custom Event | all | Triggers a custom event in the program that other rules and the customer’s page can listen for. |
| If/Else |
|
If/else statement. |
| JavaScript Function | all | Executes a JavaScript function on the customer’s page. |
| Log | all | Prints a log to the console. |
| Send Data to Agent | all | Sends a data pass to an agent. The agent must be currently assigned to the engagement to receive the message. |
| Send Boolean Variable | all | Sets a Boolean variable as true or false. |
| Set Date Variable | all | Sets the date of a Date variable. |
| Set Map Variable | all | Sets key value pairs for the map variable. |
| Set Number Variable | all | Sets the value of a Number variable. |
| Set String Variable | all | Specifies the text in a String variable. |
| Show Survey | all |
Renders a survey. Note: Use this only in non “Launch” rules. |
-
Click Save. This saves your changes, but it does not publish them to the production environment. To publish all rules to the production environment, on the Rules tab of the Business Rules page, click Publish.
