Campaign groups
If you have a large number of campaigns, you may find it helpful to organize them into campaign groups. Using campaign groups, you can perform suspend and resume operations on a number of related campaigns as a single action in the dashboard. Also, groups make it easier to navigate through a long list of campaigns. Campaign groups are always shown at the top of the Dashboard in the order of creation. Campaigns that are not assigned to a group are shown below them.
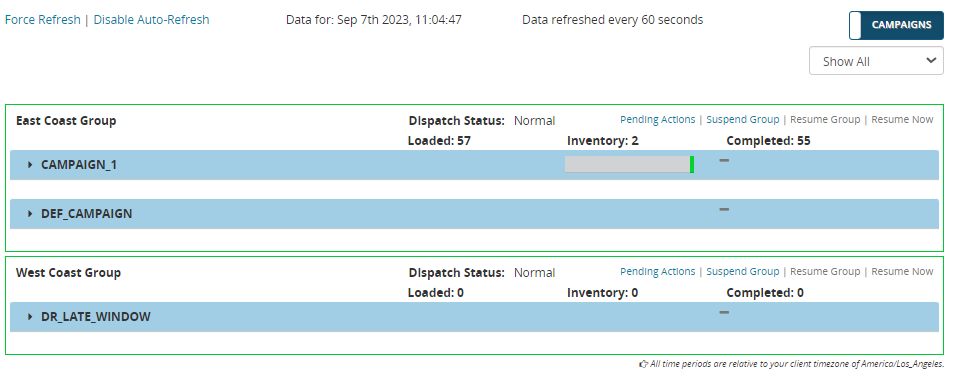
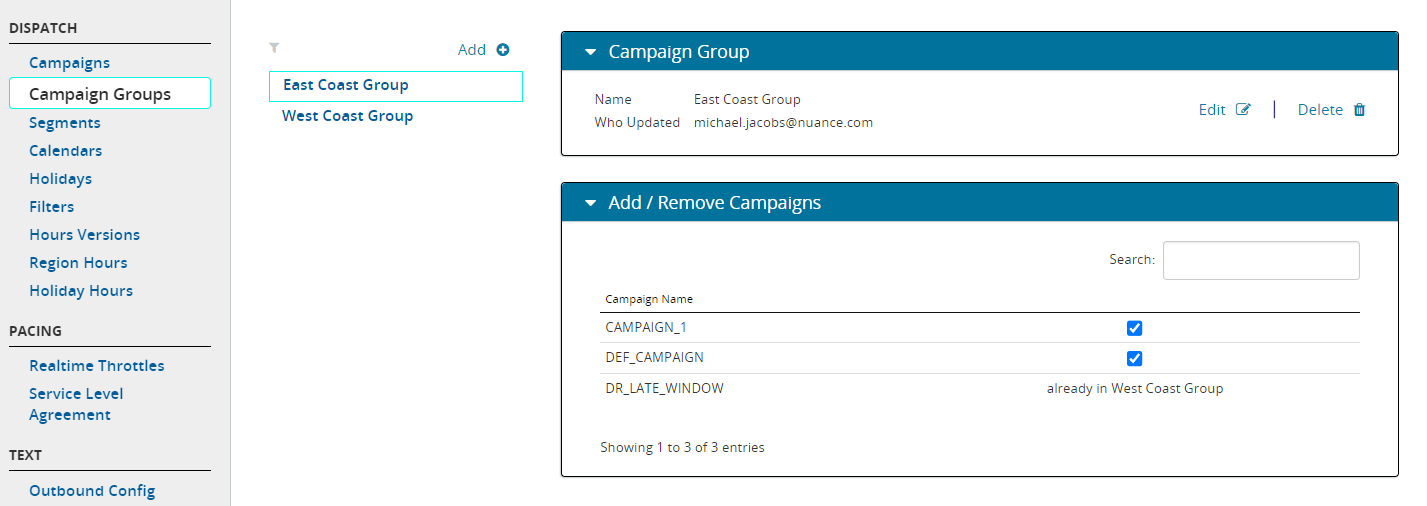
Here's a dashboard showing two campaign groups called East Coast Group and West Coast Group. Note that each campaign group is surrounded by a green box.
For more information about using dashboards, see Monitor and manage campaigns.
Note: Not all users can create and modify campaign groups. If you do not have access to the Controls tab, you cannot create and modify campaign groups.
Create a campaign group
You can create any number of campaign groups. Each campaign group can include up to 30 campaigns. After you create a campaign group, it is visible to and editable by all users. A campaign can be assigned to only one group at a time.
- Select the Controls tab, then select Campaign Groups.
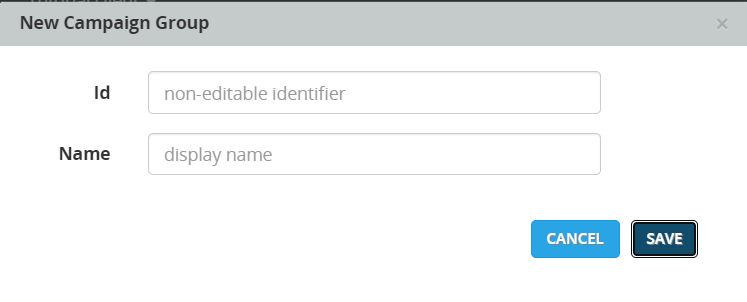
- Click Add. This displays the New Campaign Group dialog.
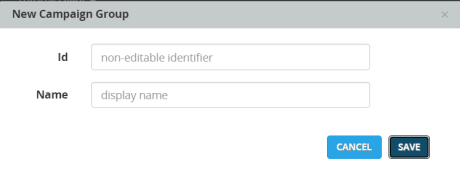
- For Id, enter a unique ID, and for Name enter a display name.
- Click Save. This creates an empty campaign group.
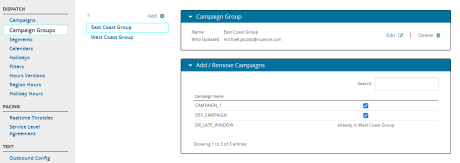
- Click the panel for Add/Remove Campaigns. This displays a list of campaigns that are available to be added to the group.
- Use the check boxes to select the campaigns you want to add. Here's an example with two campaigns added to the group:
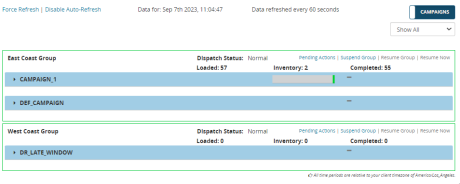
- Click Dashboard to view the new campaign group.

Modify and delete campaign groups
You can add or remove campaigns from a campaign group at any time. You can also delete campaign groups that are no longer needed. Deleting a campaign group does not delete the campaigns that belong to it.
- Select Controls > Campaign Groups.
- Click the name of the campaign group you want to modify. Then perform one or more of the following operations as needed.
- To change the Id or Name of the group, click Edit. Modify the fields as needed.
- To add or remove campaigns, click Add/Remove Campaigns. Select or clear the check boxes as needed.
- If you want to move a campaign to a different campaign group, remove it from its current group and add it to the new group.
- To delete the campaign group, click Delete. You will see a confirmation dialog. Click Delete.
