Editing Compound Document Components
Reports, controls, and text on a compound document can be modified.
- Edit
- Move
- Resize
- Delete
Each component is accessed by right-clicking the component.
- Images can be moved, resized, and deleted, but they have no context menu and cannot be edited.
- Right-clicking an image only brings up the option to delete it.
Resizing components
Resize a component by clicking it and selecting an option. This feature is available for all components that can be added to a compound document.
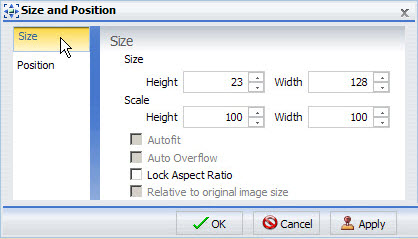
The resizing dialog:
Aspect Ratio
- On a compound report with at least one component, click the component to resize it using one of the following methods:
- Drag the sizing handles on the selected component.
- Right-click the component and select Size and Position.
- Select Size from the left pane of the Size and Position dialog.
- Use Height and Width options to change the position of the selected component.
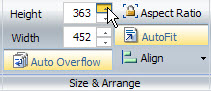
- With the component selected, change the size and width options from the Size and Arrange group on the Layout tab.
- Lock the aspect ratio using the Aspect Ratio button.
- With the aspect ratio locked, changing the width automatically changes the height and vice versa keeping the components in scale.
Tip: The Auto Overflow option is available for reports through the Size and Arrange group and the Size and Position dialog. With Auto Overflow set you cannot manually set the height and width of a report, the area of the report expands automatically to show all data.
The AutoFit option is available for reports through the Size and Arrange group and the Size and Position dialog. With AutoFit set, reports automatically grow to accommodate newly added fields.
Moving components
Move a component by clicking it or by accessing the Position section of the Size and Position dialog. This feature is available for all components that can be added to a compound document. You can also Align Components with each other so that their horizontal or vertical position matches.
- On a compound document with at least one component, click the component and move it by using one of the following methods:
- Use the mouse to drag the component anywhere on the canvas.
- Right-click the component and select Size and Position. Select Position from the left pane of the dialog.
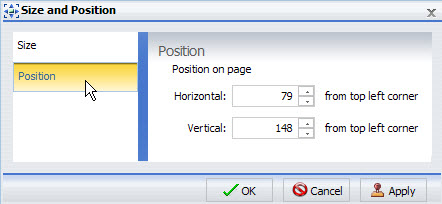
- Use the Horizontal and Vertical options to change the position of the selected component.
Tip: If your compound report includes reports, allow enough room for the maximum expected number of rows.
Compound document objects do not move dynamically to accommodate other objects.
Aligning Components
Align components with each other so that their horizontal or vertical position matches.
- You must have multiple components selected to use the align options.
- When components are selected, sizing markers appear around the components.
The alignment is anchored by the component that is farthest in the selected alignment position.
For example, if you select two components and then select Align Left, the components are aligned horizontally with the far left component.
Align components using one of the following methods:
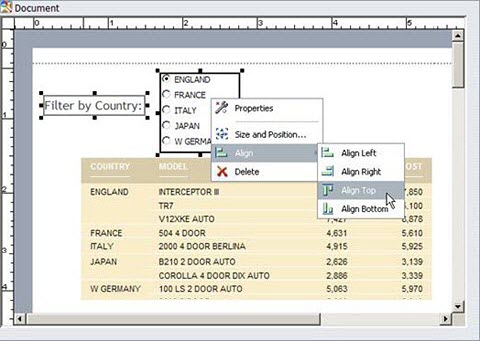
- Right-click one of the selected components and select an alignment option from the Align drop-down menu.
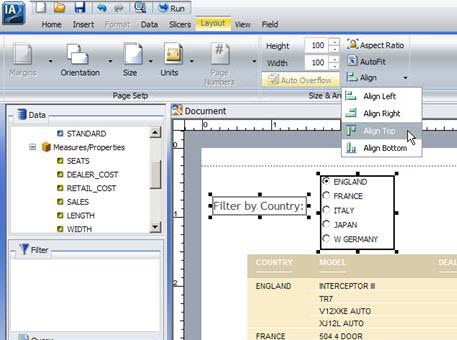
- Access the alignment options from the Layout tab, Size and Arrange group, Align drop-down menu.
|
Right-click alignment options
|
Selected components with sizing markers
|
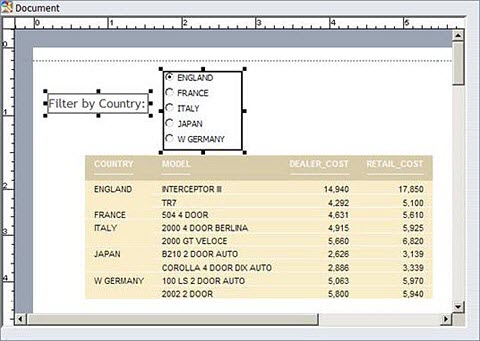
|
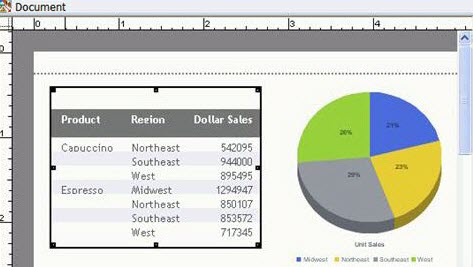
Aligned components
|
Alignment options drop-down menu
|
Customizing reports
- In a compound document with at least one report, click the report. Sizing markers surround the border.
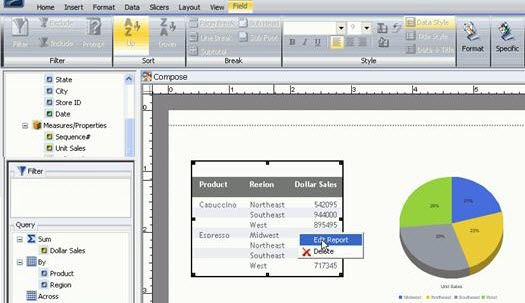
- Right-click the report and select Edit Report.
- Charts can be edited and have a context menu that is covered in Custom Charts .
- Text can be edited and has a context menu that is covered in Edit and Format Text.
- Images cannot be edited.
You can also activate the report by double-clicking it, which has the same functionality as right-clicking and then selecting Edit Report.
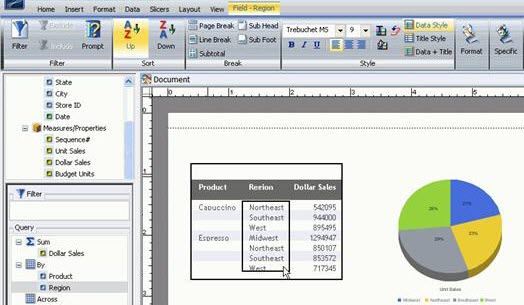
- Select a field by clicking it in the canvas. You can also select a field in the report by clicking the field in the Query pane of the Resources Panel. Make sure that the report that contains the field you would like to edit is selected on the canvas.
- Edit the selected report by right-clicking to bring up the edit menu, or through the Control Panel, which contains options similar to those of the edit menu. See Customize reports.
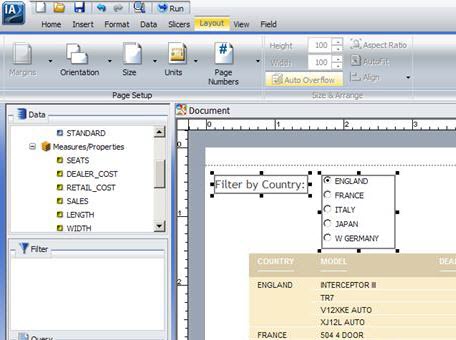
Report with sizing markers:
|
|
Selecting edit with right-click
|
|
Selecting fields
|
Customizing charts
Reports can be edited and have a context menu that is covered in Custom Reports.
Text can be edited and has a context menu that is covered in Edit and Format Text.
Images cannot be edited.
Editing a chart:
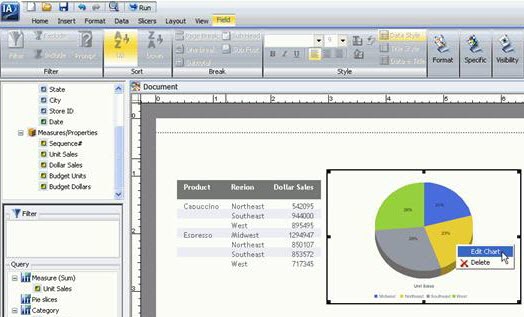
- In a compound document with at least one chart, double-click the chart, or click the chart so that it becomes the active object, then right-click it and select Edit Chart.
- Select a field by clicking it in the canvas. You can also select a field in the chart by clicking the field in the Query pane of the Resources Panel.
- Make sure that the chart that contains the field you would like to edit is selected on the canvas.
- You can also edit the selected chart through right-click commands, which bring up the Context menu.
- Or use the Control Panel, which contains options similar to those of the Context menu. See Creating and Customizing Charts .
Tip: Report Creator does not have a function to put a border around a selected object. To add a border around a chart use line images.
Editing and formatting text
Note: Applies only to text.
- Reports can be edited and styled with a context menu that is covered in Customize Reports.
- Charts can be edited and styled with a context menu that is covered in Custom Charts.
- Images cannot be edited.
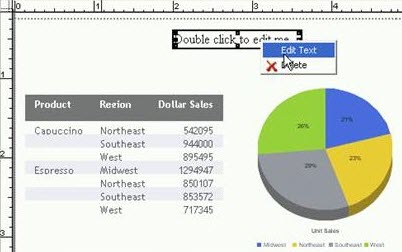
- Double click the text component, or click the text to make it the active object, then right-click the text, and select Edit Text.
- A cursor displays over the text. Click anywhere in the text box and begin entering text.
- To format, highlight the text and right click to access the text component menu.
Editing text:
Text menu options
|
Description |
Format options |
|
|---|---|---|
|
Font |
Changes the font of the selected text. |
N/A |
|
Size |
Changes the size of the selected text. |
N/A |
|
Bold |
Changes the font weight of the selected text. |
N/A |
|
Italic |
Applies or removes italics from the selected text. |
N/A |
|
Underline |
Applies or removes underline from the selected text. |
N/A |
|
Text color... |
Changes the text color. |
N/A |
|
Cut |
Cuts the selected text. |
N/A |
|
Copy |
Copies the selected text. |
N/A |
|
Paste |
Pastes text from the clipboard. |
N/A |
|
Insert date/time |
Inserts Date or Time quick text with various format options. |
|
|
Insert page # |
Inserts page number quick text with various format options. |
|
Deleting components
To delete a component in document view, right click the component and select Delete, or click it and press the Delete key.
