Importing role files
Some Nuance products provide role files that you can import to Management Station where they then become available as configuration choices.
To import role files via Management Station:
-
From the Administration tab, click Miscellaneous on the toolbar.
-
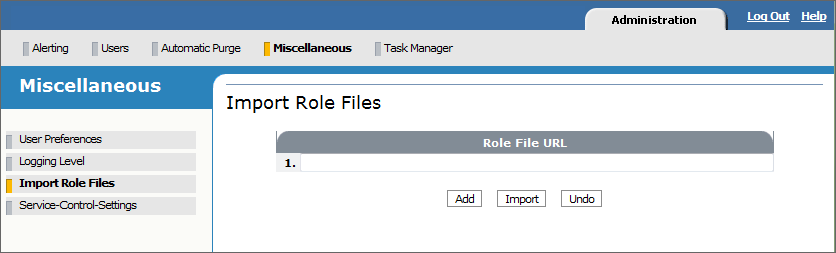
Click Import Role Files in the left frame. For example:
-
Enter the pathname of the role file to import. You can specify an HTTP or FTP URL. Note:
-
HTTP: You must make the role file provided with the Nuance product accessible via HTTP. For example, with the Apache Tomcat server, open httpd.conf and change DocumentRoot to point to the role directory.
For the role file URL, specify http://hostname:port/rolefile.xml
The port, if omitted, defaults to 80.
-
FTP: An FTP server must be installed on the host you’re importing from and you need to provide your username and password.
For the role file URL, specify:
ftp:// user:pswd@hostname:port/path/rolefile.xmlThe port, if omitted, defaults to 21.
-
-
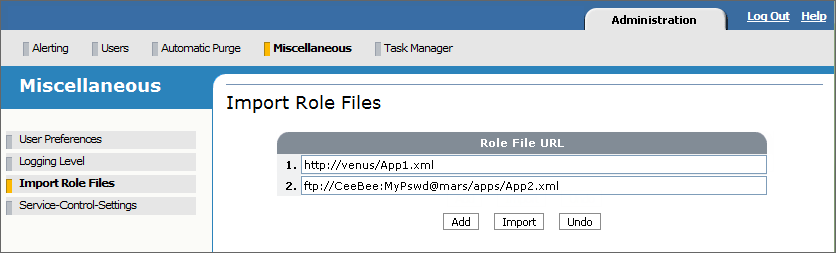
Enter one role filename per line. Click Add to add another role file. Repeat as often as needed. For example:
-
To remove an entry, click Undo.
-
Click Import when done. Management Station imports the role file into %NUANCE_DATA_DIR%\system\customRoles. A message appears indicating success or failure. A failure reason most likely indicates a wrong URL. Verify the URL and try again.
Invalid service names
If the role file contains an invalid service name, Management Station displays a warning message when you assign it to a host element. You can still apply it but you won’t be able to assign a physical host. To fix:
-
Remove the host from the network.
-
Edit the role under %NUANCE_DATA_DIR%\system\customRoles and fix the name attribute for <service instance>. Valid characters are +-_() and alphanumeric characters.
-
Reapply the role.
