Node operations
This topic describes basic operations you can perform to manipulate the elements of a dialog design—that is, nodes and their interconnections—in Mix.dialog.
Add a node
- Drag a node from the design palette onto the canvas.
- Drag a node from the design palette onto any transition area of a question and answer node, a message node, or a decision node.
- Drag a node from the design palette onto the Success area or onto the Failure area of a data access node or external actions node set up for a transfer action.
- Drag a node from the design palette onto the Complete area of a question router node.
- Drag a node from the design palette onto the On Return area of an intent mapper node, or a component call node.
- Click Components on the design palette and drag the component you want to call onto the canvas or onto a transition area of a node. This adds a component call node.
Remove a node
- Click the More icon
 for the node you want to remove.
- Choose Delete.
Duplicate a node
You can duplicate a node within a component or to another component. This creates a new node with these properties:
- Name based on the original node’s name, with a numeric suffix
- Same conditions, actions, and notes as the original node (except for transitions when duplicating to another component)
- Same settings as the original node
- Duplicated messages (not linked to the messages from the original node)
Duplicate a node within a component
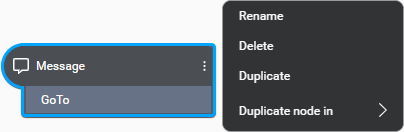
- Click the More icon for the node you want to duplicate.
- Choose Duplicate.
Duplicate a node to another component
- Click the More icon for the node you want to duplicate.
- Point to Duplicate node in and choose the desired component.
Tip: Use the search field to narrow down the list of components, if needed.
Define node properties
Click the node you want to configure if it’s not already in focus. The properties for this node appear in the Node properties pane.
Note:
To access detailed documentation for the node in focus, click the Information iconDepending on the node type, you can perform most or all of these tasks:
- Change the node name
- Add a description
- Assign variables
- Add messages
- Set the transition to the next node in the dialog flow
- Define conditions
- Assign variables based on conditions
- Add messages based on conditions
- Add transitions based on conditions
- Add notes
- Reorder messages, actions, notes, and conditions
See Build dialog flows for more details.
Rename a node
Except for the Start and Enter nodes, which you cannot rename, every node must have a unique name, across all nodes and components in your project. See Naming guidelines, for more information.
Rename a node in the Node properties pane
- Click the node you want to rename if it’s not already in focus.
The properties for this node appear in the Node properties pane. - Click the default node name, at the top of the Node properties pane, and replace it with a unique name.
Rename a node directly on the canvas
-
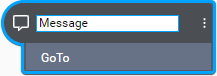
Double-click the node name on the canvas, modify it, and press Enter.
-
Alternatively:
- Click the More icon for the node you want to rename.
- Choose Rename.
- Modify the name as desired and press Enter.
- Click the More icon
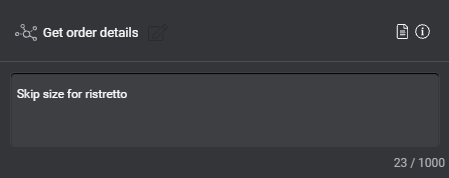
Add a description to a node
- Click the node you want to describe if it’s not already in focus.
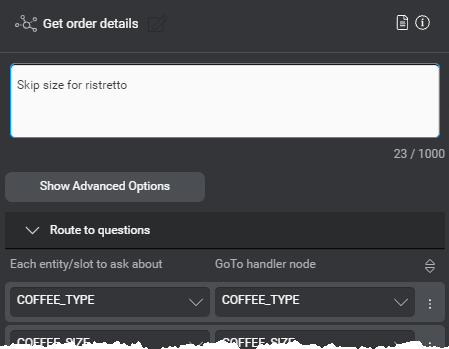
The properties for this node appear in the Node properties pane. - Click the Node description icon
 , next to the node name, at the top of the Node properties pane.
 - Enter the desired description (maximum 1000 characters), in the field that appears.
Note:
To force a new line in your node description, use Shift+Enter (or Shift+Return).Show or hide a node description
When you click a node on the canvas, if the Node description icon has a blue indicator, this means there is a description for this node.

Click the Node description icon to show the description.
Click the Node description icon again, to hide the node description.
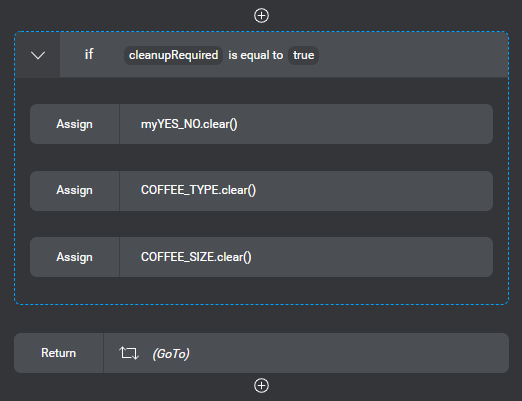
Move a message, action, note, or condition
- Bring your pointer to the right-hand side of the message, action, note, or condition you want to move.
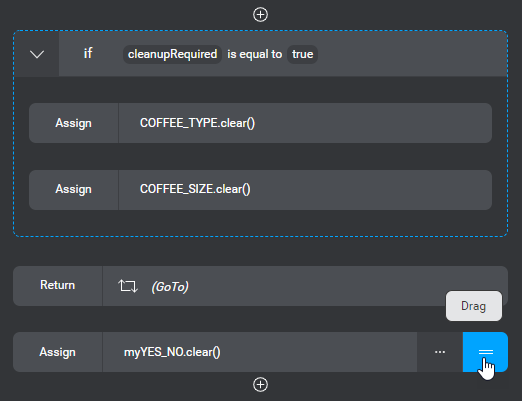
- Use the handle
 that appears, to drag the selected element up or down.

- Drop the selected element at the desired position, above or below another element, or inside a condition.
Feedback
Was this page helpful?
Glad to hear it! Please tell us how we can improve.
Sorry to hear that. Please tell us how we can improve.