Test your dialog design
As you flesh out your dialog design, using the try mode in Mix.dialog is a convenient way to preview and validate your dialog flow from one iteration to the next.
Note:
When previewing a multilingual dialog design that allows switching to another language at runtime, messages that appear on the graph representation of the dialog flow in the Try tab remain in the language that was in effect when you started the preview session. When the interaction language changes in the chat pane, you can use the language menu near the name of the project, if you want the messages on the graph to appear in the same language as in the chat pane.Prerequisites
Although Mix.dialog supports managing intents and entities, before you can preview a dialog design you might need to further develop the NLU model for your project by adding sample sentences, annotating them, and setting their verification status, in Mix.nlu (refer to the Mix.nlu documentation for more information).
Try your design
- Switch to the TRY tab.
Mix.dialog prompts you to train (or retrain) your NLU model. - Click Train NLU model (or Retrain NLU model), if appropriate; otherwise click Try anyway (or Use existing).
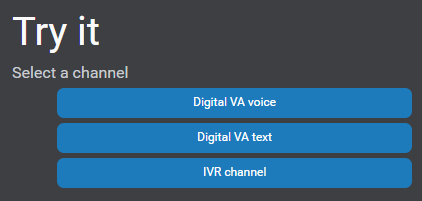
- Click the desired channel.
Mix.dialog generates channel-appropriate code for your dialog app, validates the code, and reports any issues found in the code.
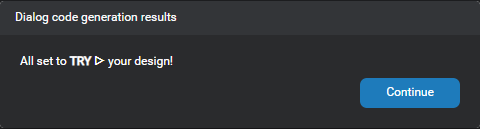
- If issues were found, address them by making corrections where appropriate in your design; otherwise, click Continue.
The Main flow of your dialog design appears in the main pane. - If your project supports multiple languages, use the menu near the name of the project, to choose the language you want to use for this session, as desired.
- Click Start, in the chat pane.
Your greeting (if any) and initial question appear in the chat pane.

- Enter something in the chat box at the bottom of the pane.
A response appears, based on what you entered. You can resize the chat pane, if desired. - Pursue the conversation.
At every turn, the dialog flow automatically appears at 100% scale, with the active node highlighted and centered.- You can click the canvas, and drag to bring the desired area of your design into view.
- Use your mouse wheel to zoom in or out.
- If your project uses dynamic list entities from inline resources, when the dialog reaches the data access node that is meant to return the dynamic entity data variable:
- Choose the dynamic list entity to be extended with data from your dynamic entity data variable.
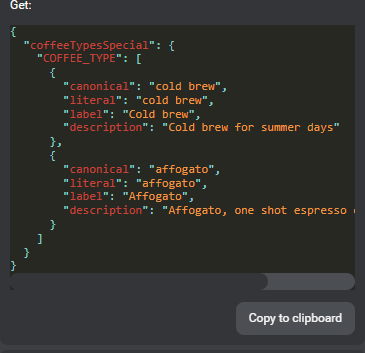
- Use the fields that appear to enter literal-value pairs (and define interactive elements if needed).
Tip: Use Copy to Clipboard and save the JSON representation of the stub data, to be able to use the JSON bulk input feature the next time you must provide stub data at this data access node.
- If you reached the end of the dialog, you can click Start New Session.
Alternatively, click Restart at the top of the main pane, at any time, to try another scenario.
Note:
For data access nodes meant to return any variable of type Digits, the JSON representation of the stub data must use a string of digits, not a JSON integer.Resize the chat pane
- Move your pointer to the border between the chat pane and the main pane.
The pointer switches to a left-right arrow handle. - Click and drag the handle until the chat pane is the desired width.
Address issues in your design
- In the code generation results window, click Go back and fix.
The validation panel appears in the main pane. - Expand Warnings (or Errors) to see the list of issues.
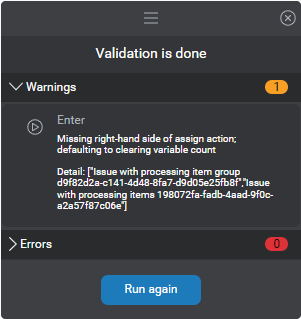
- Click an issue to bring the affected node into focus.
In the Node properties pane, areas that require attention are outlined in red (error) or orange (warning). - For issues related to a message, click the compact message to open the message editor.
A link appears at the top of the editor, which lets you navigate directly to the Messages resource panel where you can address the issue. - Correct your design and messages, as needed.
Feedback
Was this page helpful?
Glad to hear it! Please tell us how we can improve.
Sorry to hear that. Please tell us how we can improve.