Entity operations
In Mix.dialog you can use the Entities tab of the NLU resource panel to manage entities. You can also create entities on the fly from question and answer nodes.
Show the Entities tab of the NLU resource panel
Click NLU, on the toolbar, to open the NLU resource panel, and then switch to the Entities tab.
(Click NLU again to close the panel.)
Add an entity
- In the search field, type a unique name for the entity (see Naming guidelines)—for example, COFFEE_SIZE.
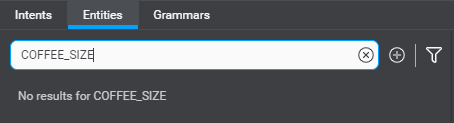
- Click the Add entity icon
 .
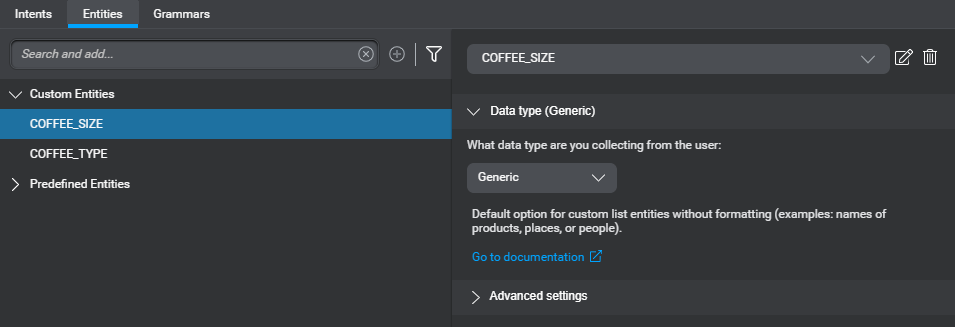
. - Select the desired data type for this entity (for example, Generic), from the list that appears in the upper-right area of the panel.
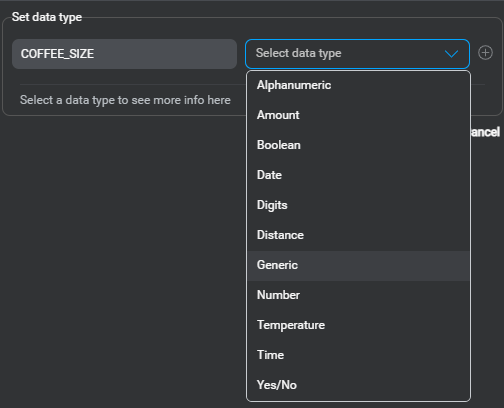
- Click the Add icon .
The new entity appears in the list of custom entities.
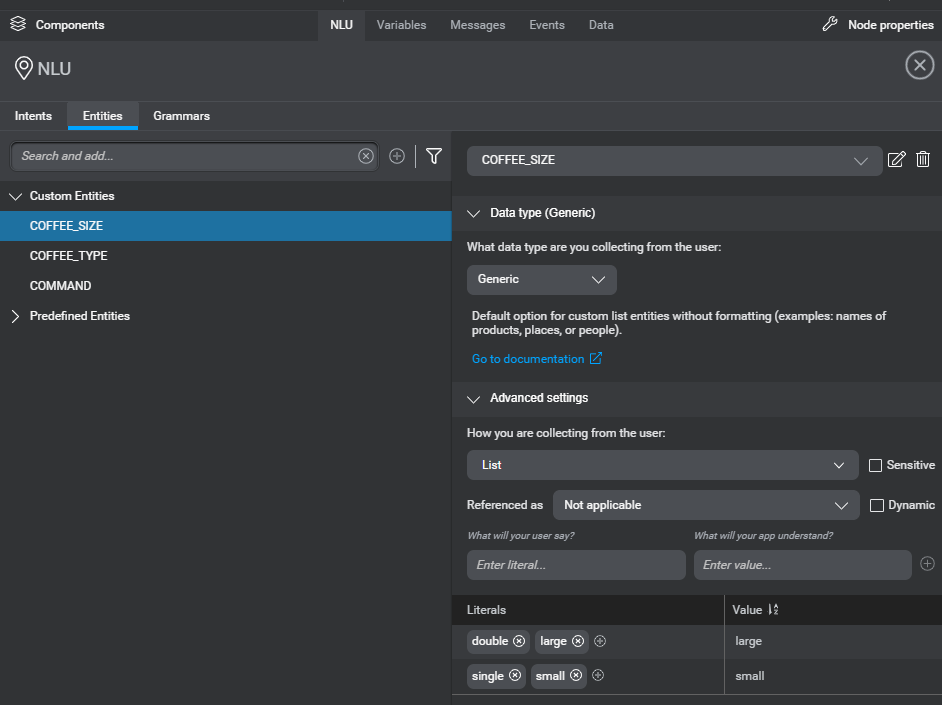
- Expand the Advanced settings section.
A collection method for the new entity is selected by default (see Data type and collection method compatibility, in the Mix.nlu documentation, for more information).
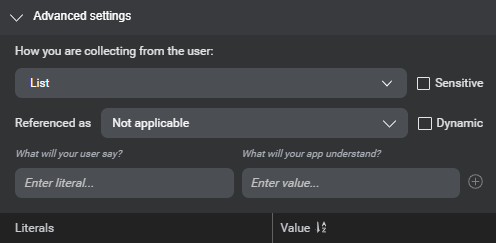
- Choose a different collection method, if desired.
- For a list entity, add literal-value pairs.
- For a dynamic list entity, mark it as dynamic.
- If this entity will hold sensitive information that must be masked in application logs, mark it as sensitive.
- If this is an entity for which you want to be able to recognize anaphoras, mark it as referable.
Rename an entity
- In the list of custom entities, click the entity you want to rename.
Alternatively, choose the entity from the list in the upper-right area of the panel.
Tip: Use the filter icon or the search field, to narrow down the list. - Click the Edit icon
 , next to the selected entity in the upper-right area of the panel.
The name becomes editable. - Modify the name as desired (see Naming guidelines).
Delete an entity
- In the list of custom entities, click the entity you want to delete.
Alternatively, choose the entity from the list in the upper-right area of the panel.
Tip: Use the filter icon or the search field, to narrow down the list. - Click the Delete icon
 , next to the selected entity in the upper-right area of the panel.
A message appears prompting you to confirm your intention. - Click Confirm (or Yes, export project and delete entity).
If the entity you want to delete is the global command entity for your project, Mix.dialog will export the JSON representation of your design to your local file system for backup purposes, before deleting the entity.
The entity and all associated literals and values are no longer available.
Warning:
Before deleting an entity, make sure your project doesn’t use it.Add literals for a list entity
- In the list of custom entities, click the entity for which you want to add literals.
Alternatively, choose the entity from the list in the upper-right area of the panel.
Tip: Use the filter icon or the search field, to narrow down the list. - Expand Advanced settings.
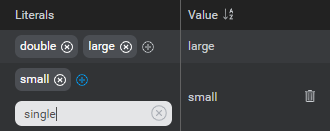
- Use the fields at the bottom of this section, to add a few representative literal-value pairs.
The literal text automatically doubles as the value, by default. If you want the value to be different, press Tab and type the desired value before pressing Enter.
Multiple literals can have the same value, to help your application recognize the different ways a user might say an entity. - To add a literal for an existing value, click the Add icon , next to the existing literal, type the new literal and press Enter.
- If your project supports multiple languages, use the menu near the name of the project to switch to another language, and proceed in the same fashion, until you have representative literal-value pairs for every language in your project.
Notes:
- To support value-specific actions and conditions, make sure each required entity value has the same spelling, for every language in your project.
- When you choose List as the collection method for entities that have a data types of Yes/No or Boolean, this automatically creates the two values yes and no, or true and false, with their default literals. You can add literals for these values, but cannot add other values.
Delete a value
- In the list of custom entities, click the entity for which you want to delete a value.
Alternatively, choose the entity from the list in the upper-right area of the panel.
Tip: Use the filter icon or the search field, to narrow down the list. - Expand Advanced settings.
- Click the Delete icon , next to the value you want to delete.
A message appears prompting you to confirm to confirm your intention. - Click Yes.
If the value belongs to the global command entity for your project, Mix.dialog will export the JSON representation of your design to your local file system for backup purposes, before deleting the value.
The value and all associated literals are no longer available.
Warning:
When you delete a command entity value, this removes any global command mappings (in your project settings), and command overrides (in your question and answer nodes), for this value.Delete a literal
- In the list of custom entities, click the entity for which you want to delete a literal-value pair.
Alternatively, choose the entity from the list in the upper-right area of the panel.
Tip: Use the filter icon or the search field, to narrow down the list. - Expand Advanced settings.
- Click the Delete Literal icon, next to the literal you want to delete.
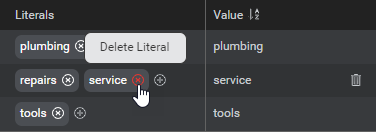
A message appears prompting you to confirm your intention. - Click Yes, Delete Literal.
Mark a list entity as dynamic
- In the list of custom entities, click the entity you want to use as a dynamic list entity.
Alternatively, choose the entity from the list in the upper-right area of the panel.
Tip: Use the filter icon or the search field, to narrow down the list. - Expand Advanced settings.
- Click the Dynamic check box.
Mark an entity as referable
- In the list of custom entities, click the entity for which you want to be able to recognize anaphoras.
Alternatively, choose the entity from the list in the upper-right area of the panel.
Tip: Use the filter icon or the search field, to narrow down the list. - Expand Advanced settings.
- Expand the list next to Referenced as, and choose the appropriate anaphora type:
- REF_MOMENT: References a time (for example, “then”, “at that time”)
- REF_PERSON: References a person (for example, “him”, “her”, “them”)
- REF_PLACE: References a place (for example, “there”, “here”, “that place”)
- REF_THING: References a thing (for example, “it”)
Mark an entity as sensitive
Entities marked as sensitive are masked in application logs. (Depending on your purposes, you might consider marking specific question and answer nodes as sensitive by configuring data privacy settings.)
- In the list of custom entities, click the entity you want to mark as sensitive.
Alternatively, choose the entity from the list in the upper-right area of the panel.
Tip: Use the filter icon or the search field, to narrow down the list. - Expand Advanced settings.
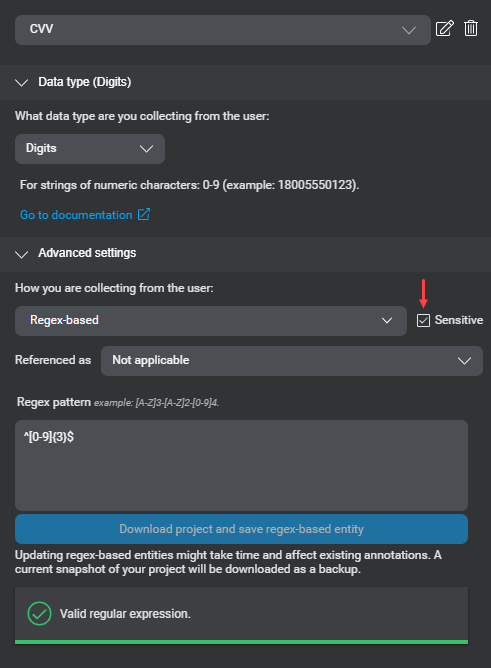
- Click the Sensitive check box.
Change the collection method for an entity
- In the list of custom entities, click the entity for which you want change the collection method.
Alternatively, choose the entity from the list in the upper-right area of the panel.
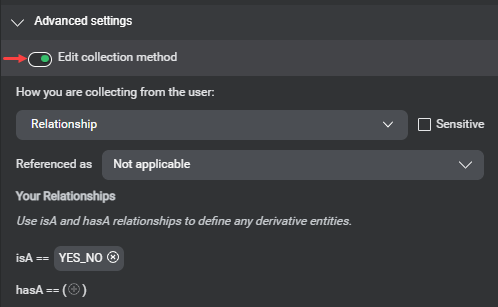
Tip: Use the filter icon or the search field, to narrow down the list. - Expand the Advanced settings section.
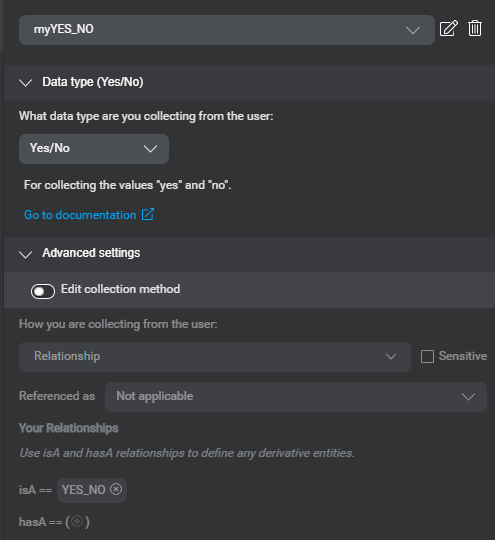
- Turn on Edit collection method.
Note that this switch is only present if the current collection method is not List.
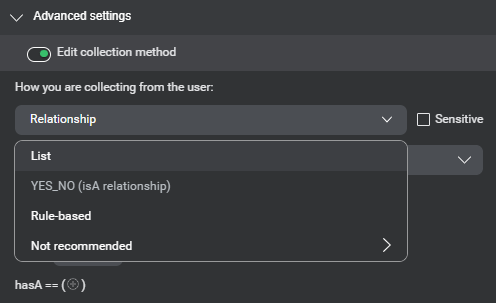
- Choose the desired collection method from the list under How you are collecting from the user.
Filter custom entities by type
Click the filter icon ![]() , and choose the desired entity type (a collection method or the predefined entity for a relationship entity) from the list.
, and choose the desired entity type (a collection method or the predefined entity for a relationship entity) from the list.
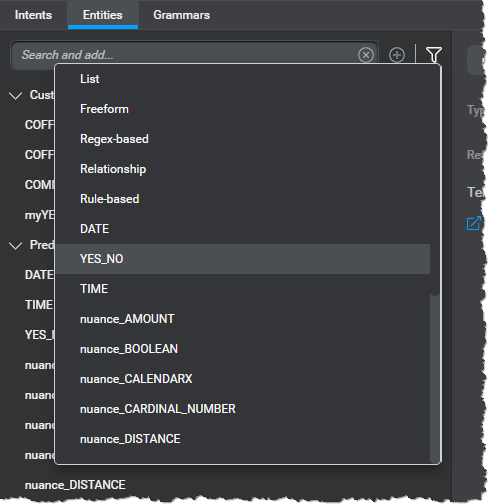
Only custom entities of the type you chose remain visible, and an indication showing that filtering is in effect appears under the search field.

To stop filtering by entity type, click the Clear filter icon ![]() , next to the indication.
, next to the indication.
Feedback
Was this page helpful?
Glad to hear it! Please tell us how we can improve.
Sorry to hear that. Please tell us how we can improve.