Step 3: Design your dialog
All applications start with a component called Main, which typically covers greeting the user and asking what they would like to do. In the previous section, you created one intent, ORDER_COFFEE, and the corresponding intent component, also called ORDER_COFFEE. Now we’re about to build the main dialog flow for our coffee shop application, in which we will:
- Greet the user: Add a message node, with a welcome message.
- Collect the user intent: Add a question and answer node to ask the user what they would like to do, and an intent mapper node to direct the dialog flow to the appropriate intent component.
- Say goodbye to the user: Configure what will happen when the dialog flow returns from the intent component. In this simple scenario we’ll add another message node and an external actions node to end the conversation.
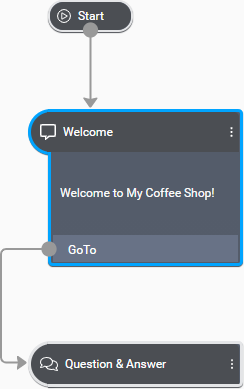
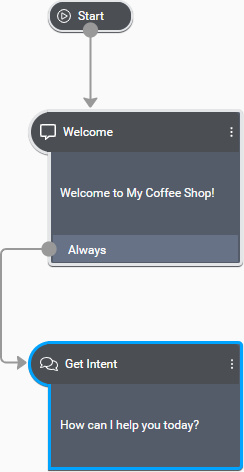
Once we’re done, the component called Main will look like this:

After that we’ll build the dialog flow for the ORDER_COFFEE intent component, which will perform these tasks:
- Fulfill the intent: Add a question router node, to handle all required pieces of information, that is, the COFFEE_TYPE and COFFEE_SIZE entities. We’ll add a question and answer node for each entity directly from the question router node.
- Collect entities: In each question and answer node, add a message to ask for information specific to the entity it’s meant to collect, and set a transition back to the question router node. The question router node and the associated question and answer nodes work together until all information has been collected.
- Wrap up: Determine what to do once all information has been collected. We’ll add a message node directly from the question router node, summarize the order we receiver from the user, and return to the main dialog flow.
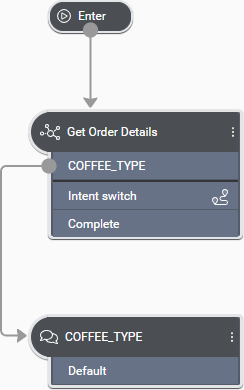
Once we’re done, the ORDER_COFFEE intent component called will look like this:

Note:
In this scenario we will create messages for the TTS output modality only. See Modalities for more information.Greet the user
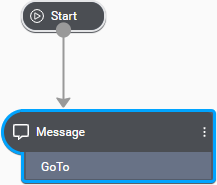
- Drag a Message node from the palette onto the Start node on the canvas.
This automatically connects the Start node to the message node.
The properties for this message node appear in the Node properties pane.
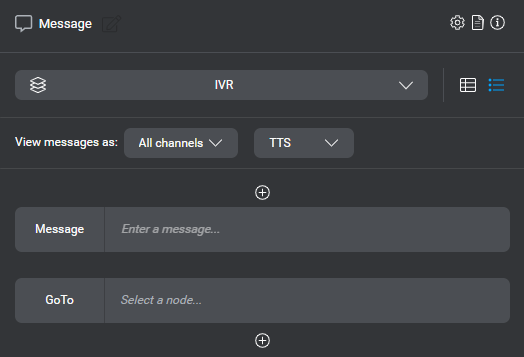
- Click the default node name, Message, at the top of the Node properties pane, and replace it with a unique name (see Naming guidelines)—for example, Welcome.
- Click the message placeholder.
The message editor appears.
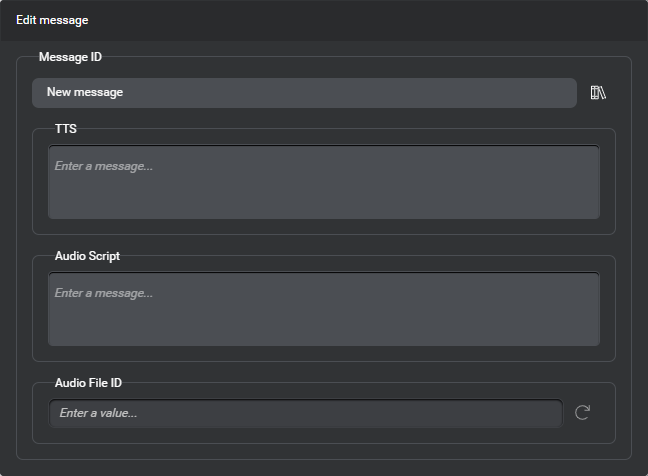
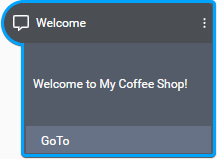
- In the field for the TTS output modality, enter the desired greeting message—for example, Welcome to My Coffee Shop!
This automatically generates a message ID, based on the message text.
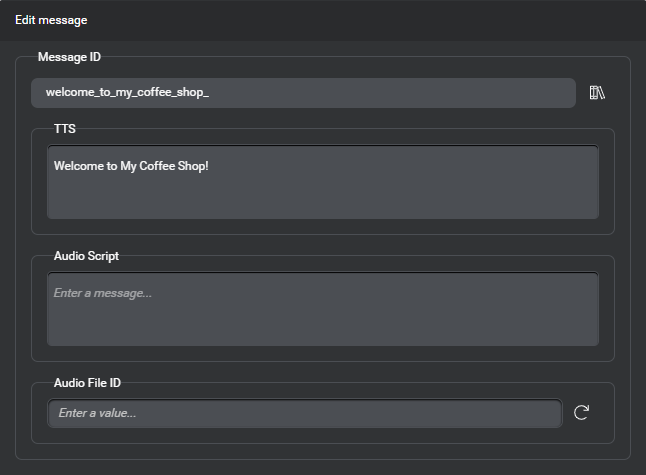
- Click outside the editor to close it.
The message appears on the Welcome node.
Collect the user intent
- Drag a Question & Answer node from the palette onto the GoTo area of the Welcome message node.
This automatically connects the message node to the question and answer node.
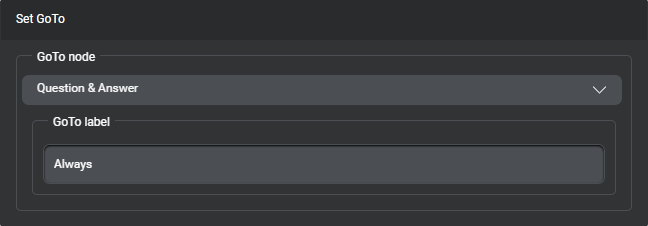
- (Optional) In the properties for the Welcome node, click the compact GoTo, to open the GoTo editor, and then replace the default GoTo transition label, with Always, to make it more obvious that this transition is not conditional.
Notice the GoTo node field already indicates that the question and answer node is the next node in this flow.
- Click the question and answer node on the canvas.
The properties for this node appear in the Node properties pane.
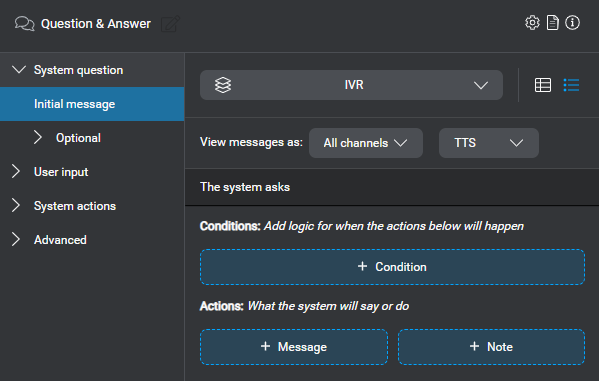
- Replace the default node name, Question & Answer, with a unique name—for example, Get Intent.
- Click + Message.
A message placeholder appears.
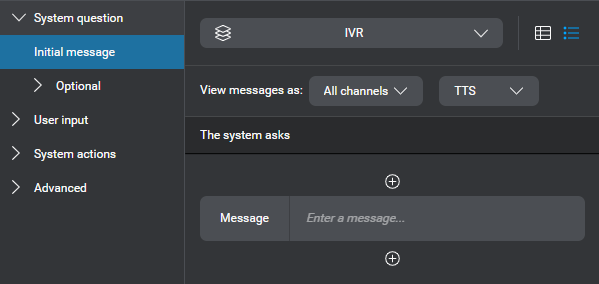
- Click the message placeholder.
The message editor appears. - In the field for the TTS output modality, enter the desired question—for example, How can I help you today?
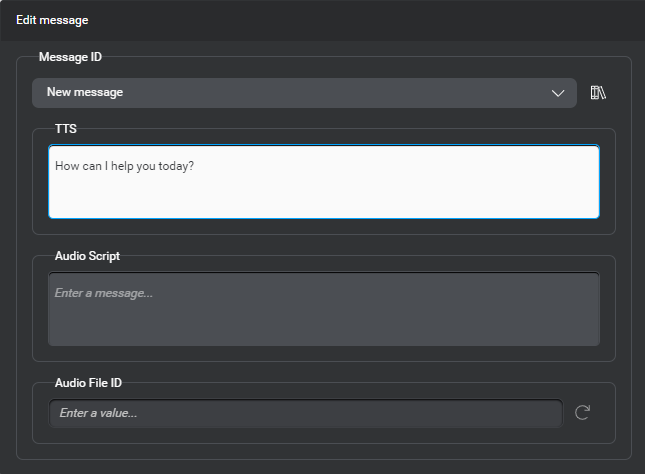
- Click outside the editor to close it.
The question appears on the Get Intent node.
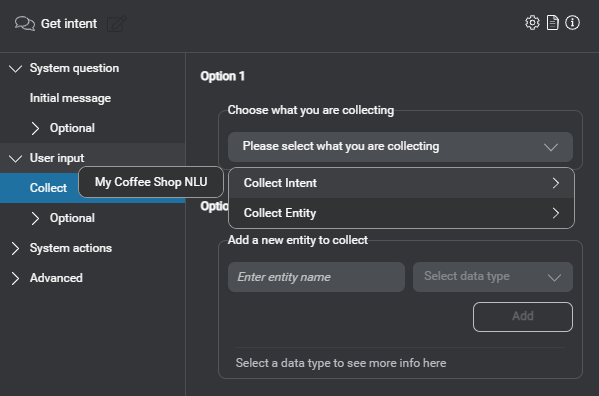
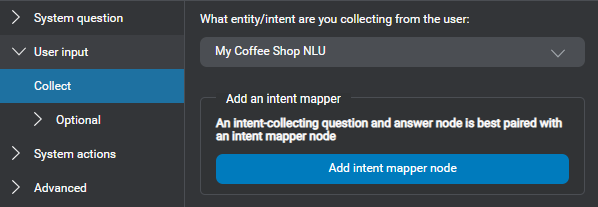
- Expand User input and click Collect.
- Expand the selector, point to Collect Intent, and choose NLU for your project.
- Click Add intent mapper node.
This automatically connects the Get Intent question and answer node to an intent mapper node.
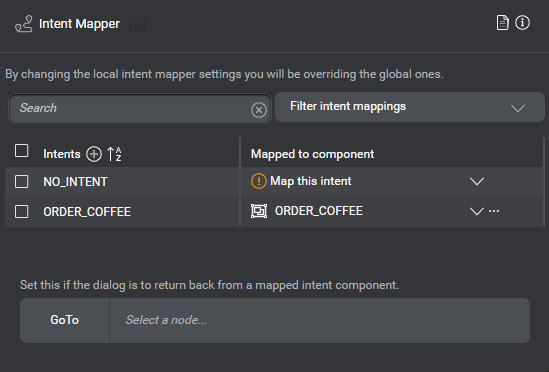
Notice the intent mapper node indicates: 1 Mapped Component. This corresponds to the ORDER_COFFEE intent you defined earlier, in the NLU resource panel.

- Expand System actions and click Default.
Notice the compact GoTo already indicates that the intent mapper node is the next node in this flow.
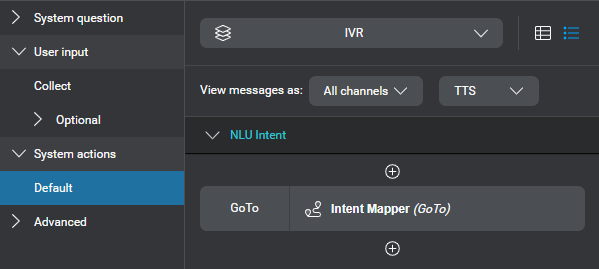
- (Optional) Click the compact GoTo, to open the GoTo editor, and then replace the default GoTo transition label, with Always, to make it more obvious that this transition is not conditional.
Say goodbye to the user
- Click the intent mapper node on the canvas.
The properties for this node appear in the Node properties pane.
- Click the GoTo placeholder.
The GoTo editor appears. - Expand the GoTo node list, point to Add new, and choose Message.
This automatically connects the intent mapper node to a message node.
This transition determines what happens when the dialog returns to this intent mapper node from an intent component, after the interaction associated with a specific intent is complete. - Click the Message node on the canvas.
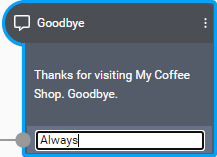
- Replace the default name of the message node with a unique name—for example, Goodbye.
- Click the message placeholder.
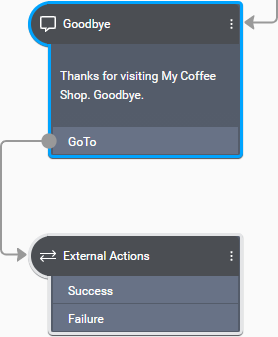
The message editor appears. - In the field for the TTS output modality, enter the desired parting message—for example, Thanks for visiting My Coffee Shop. Goodbye.
- Click outside the editor to close it.
The message appears on the Goodbye node on the canvas. - Click the GoTo placeholder.
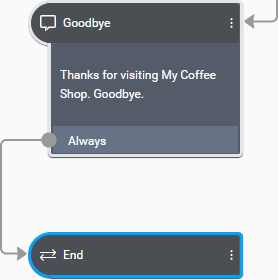
The GoTo editor appears. - Expand the GoTo node list, point to Add new, and choose External Actions.
This automatically connects the Goodbye node to an external actions node.
- (Optional) On the canvas, double-click the GoTo area of the Goodbye node, and replace the default GoTo transition label, with Always.
- Click the external actions node.
- Replace its default name with a unique name—for example, End.
- Under Action type, choose End.

The End node represents the end of the conversation.
Fulfill the intent
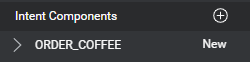
- In the Components pane, click your ORDER_COFFEE intent component.
- Drag a Question Router node from the palette onto the canvas.
The properties for the question router node appear in the Node properties pane.
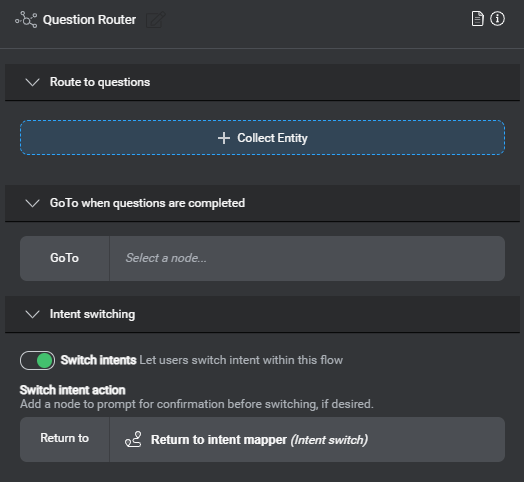
- Replace the default node name, Question Router, with a unique name—for example, Get Order Details.
- Under Route to questions, click + Collect Entity.
A Collect placeholder appears.
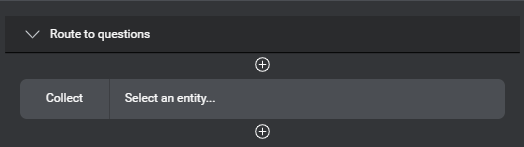
- Click the placeholder.
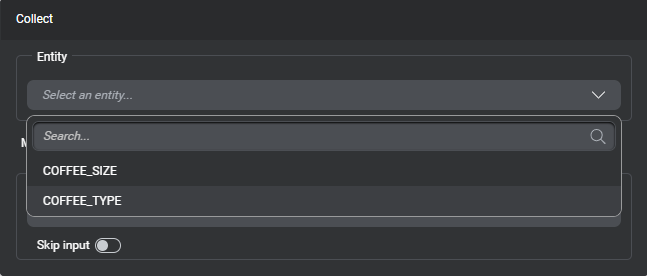
An editor appears.
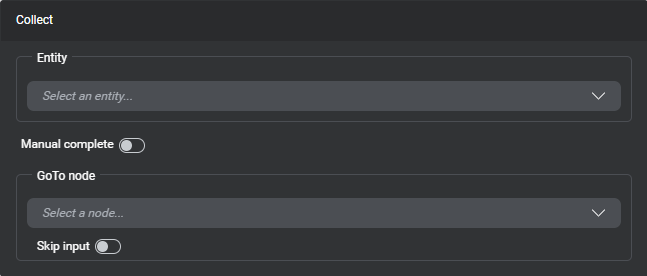
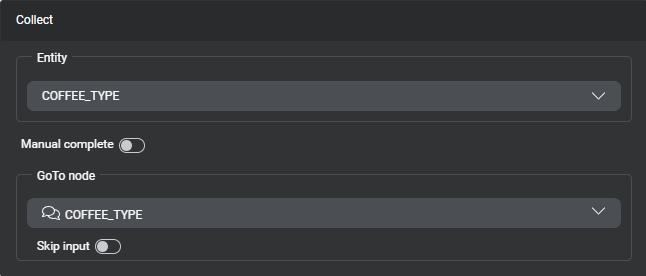
- Expand the Entity list, and choose the first piece of information to be collected—COFFEE_TYPE, in this scenario.
- Expand GoTo node, point to Add new, and choose Question & Answer.
This connects the question router node to a new question and answer node named after the entity to collect.
- Click outside the editor to close it.
On the canvas, notice that Get Order Details is now connected to the question and answer node named COFFEE_TYPE.
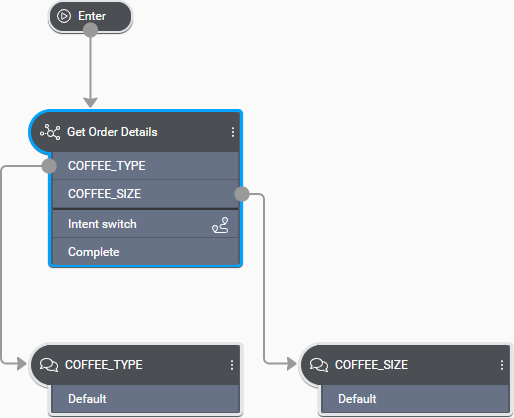
- In the Node properties pane, click the Add icon
 , below the compact Collect parameter.
 - Proceed in the same fashion (from step 5 above) to add another question and answer node for the remaining piece of information to be collected—that is, the COFFEE_SIZE entity.
Collect entities
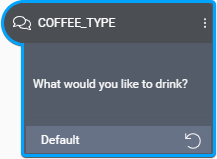
- Click the COFFEE_TYPE question and answer node.
The properties for this node appear in the Node properties pane.
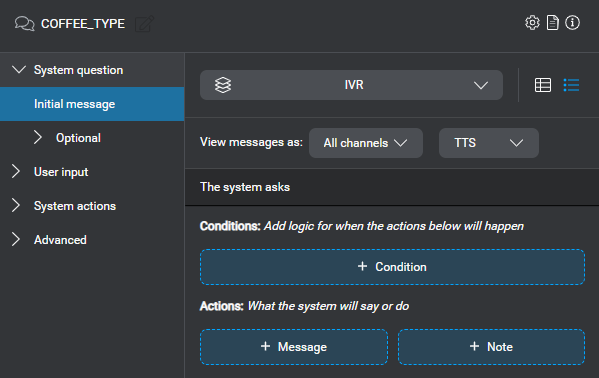
- Click + Message.
A message placeholder appears.
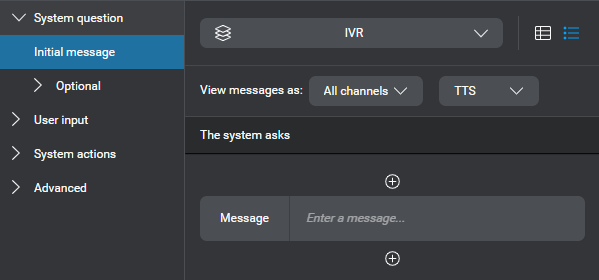
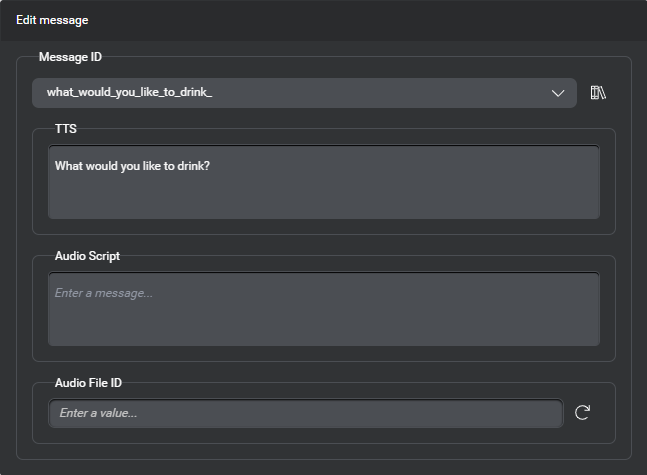
- Click the message placeholder.
The message editor appears. - In the field for the TTS output modality, enter the desired question—for example, What would you like to drink?
- Expand User input and click Collect.
Notice the entity to collect, its data type, and the advanced settings are as expected (since this scenario doesn’t require the dialog flow to take different paths depending on the collected value, the Show in Actions switches are all turned off).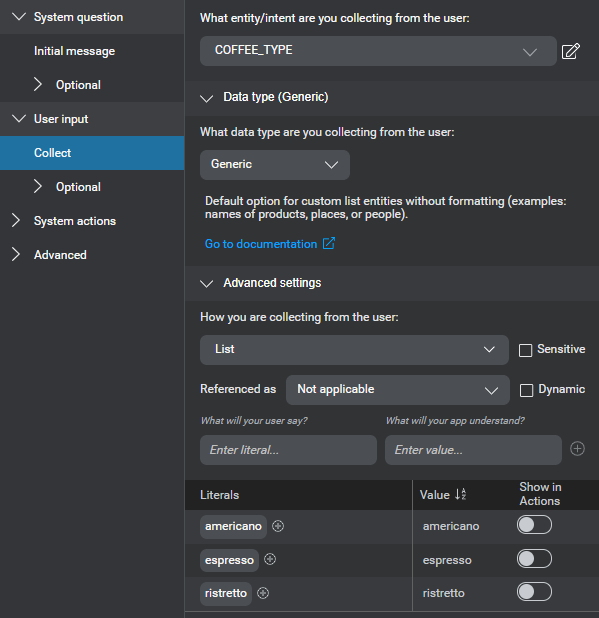
- Expand System actions and click View all.
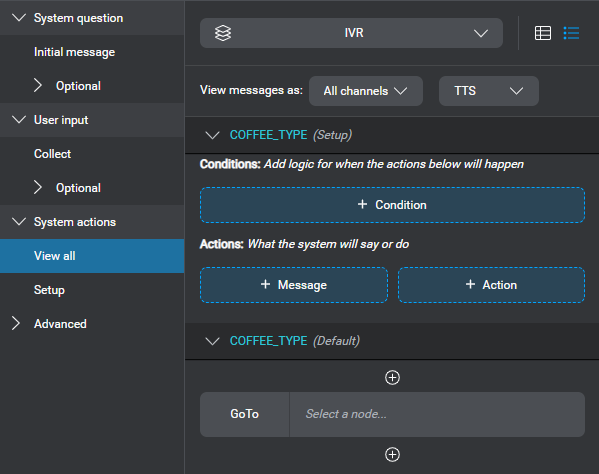
- Under COFFEE_TYPE (Default), click the GoTo placeholder.
The GoTo editor appears. - Expand the GoTo node list, point to Return to, and choose Get Order Details.
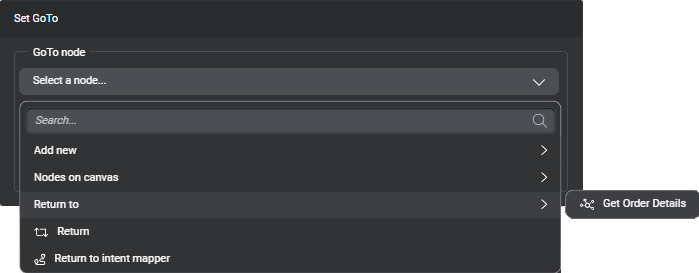
This means that, once the question and answer node has collected information relevant to the active intent—that is, any entities required to fulfill the intent—the dialog flow goes back to the question router node. The question router node determines whether information still remains to be collected.
A symbol representing the Return to transition appears next to the transition label on the COFFEE_TYPE node.
- Configure the COFFEE_SIZE question and answer node in the same fashion:
- Add a question—for example, What size would you like?
- Set a Return to transition to return to the Get Order Details question router node.
Wrap up
- Click the Get Order Details question router node on the canvas.
- In the Node properties pane, under GoTo when questions are completed, click the GoTo placeholder.
The GoTo editor appears. - Expand the GoTo node list, point to Add new, and choose Message.
This connects the question router node to a new message node. - Click the new message node on the canvas.
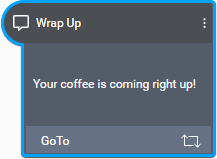
- Replace the default name of the message node with a unique name—for example, Wrap Up.
- Click the message placeholder. The message editor appears.
- In the field for the TTS output modality, enter the desired message—for example, Your coffee is coming right up!
The message appears on the Wrap Up node on the canvas. - Click the GoTo placeholder.
The GoTo editor appears. - Expand the GoTo node list, and choose Return.
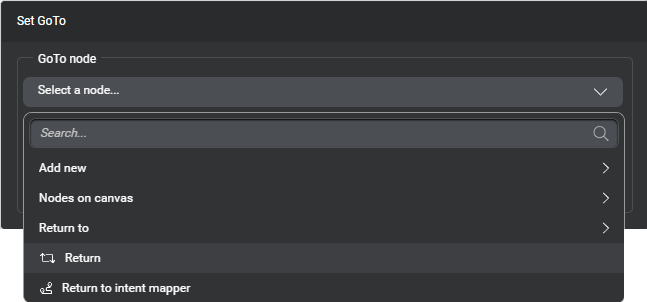
When the dialog reaches this node, all interaction associated with the ORDER_COFFEE intent is complete and the dialog returns to the intent mapper node in the component from where this intent component was called.
A symbol representing the Return transition appears next to the GoTo label on the Wrap Up node.
Feedback
Was this page helpful?
Glad to hear it! Please tell us how we can improve.
Sorry to hear that. Please tell us how we can improve.