Advanced properties
Configure local event handlers for events that should be caught at this specific node, if any. Node-level event handlers take precedence over the global event handlers set in your project’s Start node, and any component-level overrides set in the Enter node for the component of this question and answer node.
Specify a question router node to handle any captured entity or intent that is not the entity in focus for this question and answer node.
Specify data to send to the client application, at every applicable step of the question and answer node (collection, confirmation, recovery, system actions).
Configure node-level settings, if needed, to override global settings and default behaviors. Node-level settings include the Data privacy setting category, which allows marking a question and answer node as sensitive.
Set local event handlers
- Expand Advanced and click Event handling.
- Add event handlers, as needed.
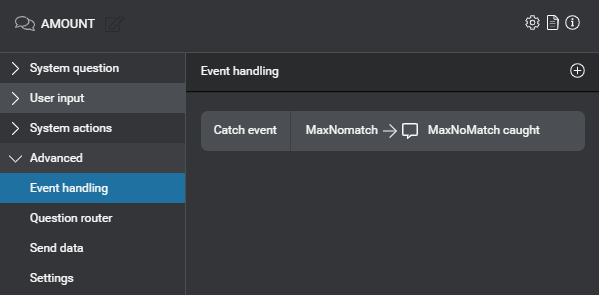
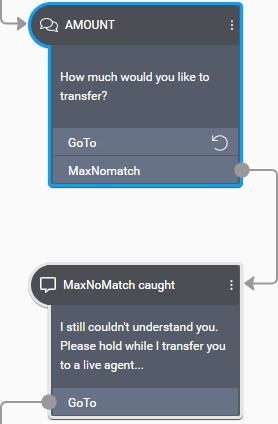
On the canvas, the names of any events for which you added local handlers appear below the main transition for the question and answer node.
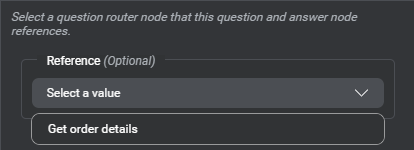
Set a question router reference
The question router reference field identifies the question router node that is to handle any captured entity or intent that is not the entity in focus for this question and answer node.
When you create a node directly from the question routing table of a question router node, or by dropping it from the design palette onto the corresponding area of the question router node on the canvas, the question router reference field automatically points to the originating question router node.
However, in some cases, you must set the question router reference manually:
- If you first dropped the question and answer node directly onto the canvas
- If you added another node (for example, a decision node or a data access node) between the question router node and the question and answer node
- If this question and answer node was previously linked to a different question router node
A missing (or stale) reference will prevent intent switching.
Incidentally, in an intent component that includes question and answer nodes collecting entities that are not handled by the question router node, you can use the question router reference to allow intent switching at these nodes as well. For example, a question and answer node that prompts the user to confirm they really want to stop fulfilling the active intent and switch to another one does not automatically support intent switching itself. Setting the Question Router Reference field will allow the dialog flow to jump to the specified question router node whenever the captured value is not the yes/no answer expected at this question and answer node. The question router node will then handle the intent switching, assuming it is configured accordingly.
Note:
In an open dialog scenario, when the interpretation result includes an entity that is not associated with the active intent, and nothing else indicates that the dialog should switch to another intent, this generates a nomatch event.To set the reference:
- Expand Advanced and click Question router.

- Expand Reference, and choose the desired question router node.
Send data to the client application
Self-hosted environments: Sending Last Message Object requires engine pack 2.3 (or later) for Speech Suite deployments; engine pack 3.11 (or later) for self-hosted Mix deployments.
Note:
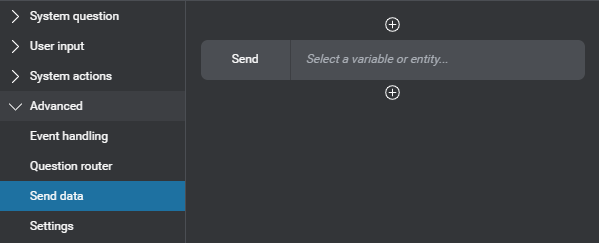
At runtime, the Dialog service sends any parameters you specified in this section to the client application, at every applicable step of the question and answer node: collection, confirmation, recovery, system actions.- Expand Advanced and click Send data.
- Click + Variable/Entity.
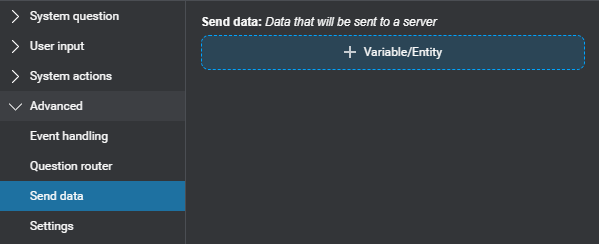
A compact Send placeholder appears.
- Click the placeholder.
An editor appears. - Use the selector to choose an element you want to send to the client application.
You can send a variable, an entity, messages from the last visited message node or from the latest step of this question and answer node (Last Message Object), the active intent’s value, confidence score, and literal, or the interpretation results from the last collection and confirmation steps (see Predefined variables for more details).
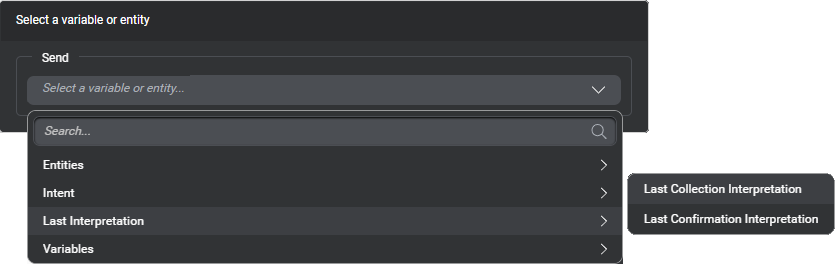
Tip: Use the search fields to narrow down the lists if needed. If a variable you want to send is missing, you can create it on the fly, and then use it immediately. - Click outside the editor to close it.
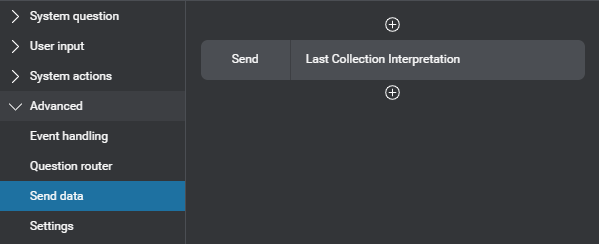
The Node properties pane shows the compact Send parameter.
- If you want to send another element, click the Add icon
 , below or above a Send parameter, and then click Variable/Entity.
A compact Send placeholder appears. Click the placeholder and use the selector in the editor that appears, as described above. - Proceed in the same fashion until you have added all the variables, entities, or other elements you want to send to the client application.

You can reorder and remove Send parameters, if desired.
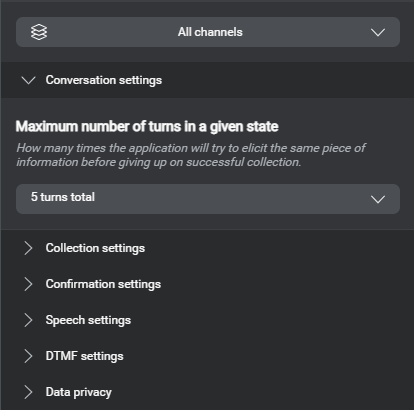
Configure node-level settings
Self-hosted environments: In the Speech settings category, setting the ASR domain language model weight requires engine pack 2.2 (or later) for Speech Suite deployments; engine pack 3.10 (or later) for self-hosted Mix deployments.
- Expand Advanced and click Settings.
- If your project supports multiple languages, and the setting you want to configure is language-specific (for example, the ASR domain language model weight), use the menu near the name of the project, to choose the appropriate language.
- If the setting must be limited to a specific channel, choose the desired channel.
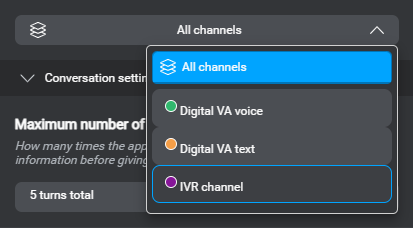
By default, node-level settings apply to all channels. - Expand the category for the setting you want to configure.
- Change the setting as required.
Notice the description changed from italics to roman text, and the Reset icon appears.
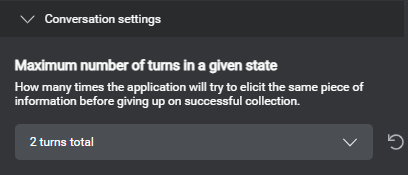
These changes indicate an override to the default behavior inherited from the channel or project settings.
Note that, in the Data privacy setting category, which is only available at the node level, since Sensitive data can only be either on or off, the Reset icon is not required and therefore doesn’t appear when you turn on this option. - Proceed in a similar fashion until you have configured all the required node-level settings.
Detailed information appears in the Node properties pane, to help you understand the available settings.
Tip:
Click the Reset iconFeedback
Was this page helpful?
Glad to hear it! Please tell us how we can improve.
Sorry to hear that. Please tell us how we can improve.