Variable operations
In the Variables resource panel, you can, for example:
- Create and manage simple variables, custom schemas, and complex variables
- Set the type of undefined variables
- View usage information for a variable
Open the Variables resource panel
Click Variables, on the Mix.dialog toolbar, to open the Variables resource panel.
(Click Variables again to close the panel.)
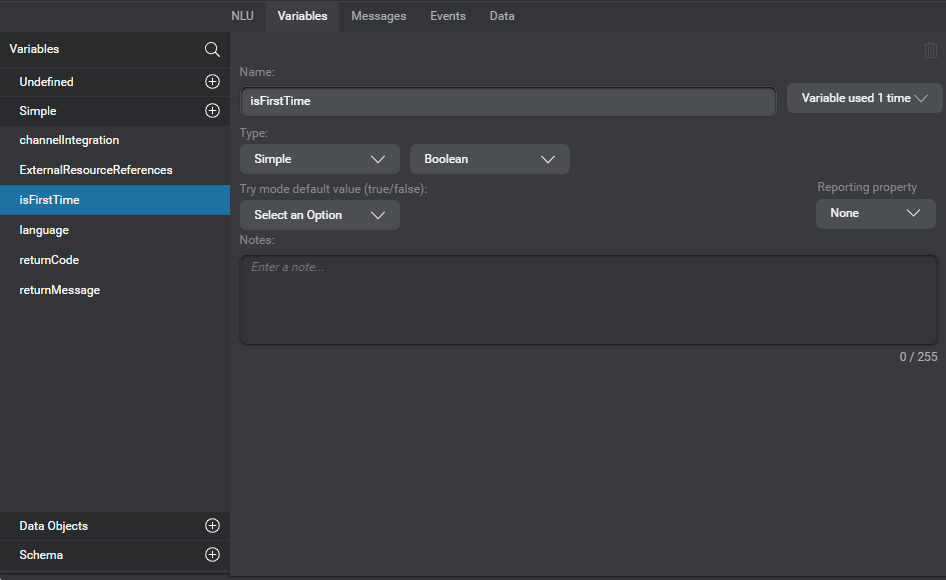
Create a simple variable
- Click the Add icon
 , next to Simple.
 - Enter a unique name for the variable (see Naming guidelines).
The new variable appears in the Simple category. - On the right-hand side of the panel, choose the desired data type from the Type list.
- If you chose List, choose a type for the list elements from the List Type list.
- If desired, add a value to be used when previewing your design.
(Not available for list and dynamic entity data variables.) - Mark the variable with a reporting property, if required.
- Add notes (maximum 255 characters), if desired.
Note:
The Try mode default value attribute of a variable is intended as stub data for Get parameters of data access nodes only, when previewing your design in Mix.dialog.Set the type of an undefined variable
- In the left-hand pane of the Variables resource panel, expand the Undefined category, if needed, and click the variable whose type you want to set.
- On the right-hand side of the panel, choose the appropriate category: Simple, or Object.
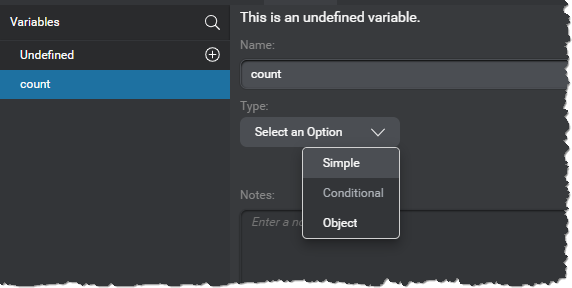
- If you chose Simple:
- Choose the desired type from the second list that appears.
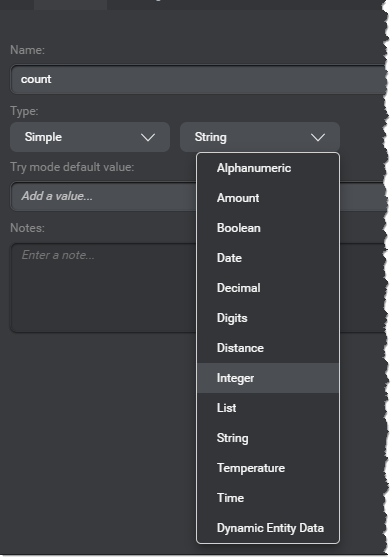
- Mark the variable with a reporting property, if required.
- Choose the desired type from the second list that appears.
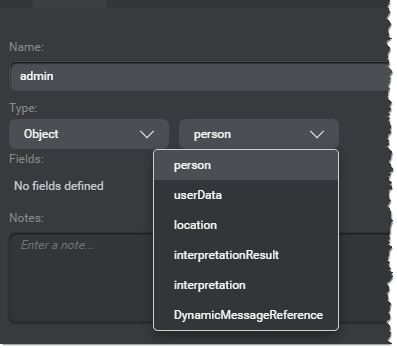
- If you chose Object, now choose the appropriate schema from the second list.
Find a variable
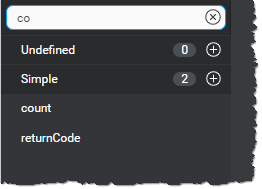
Use the search field to narrow down the variables and schemas displayed in the Variables resource panel.
The current section of the Variables resource panel updates as you type, showing only the variables, schemas, and fields that match the search string or that have fields that match the string. Badges indicate the number of matches in each section.
To stop filtering, click the Clear search icon ![]() .
.
Rename a variable
- In the left-hand pane of the Variables resource panel, expand the appropriate category, if needed, and click the variable you want to rename.
Tip: Use the search field to narrow down the list if needed. - In the right-hand pane of the panel, click the variable name.
The name becomes editable. - Modify the name as desired (see Naming guidelines).
Delete a variable
You can delete a variable only if there are no references to it in your design. To remove stray variable references from your design, review the variable’s usage information.
- In the left-hand pane of the Variables resource panel, expand the appropriate category, if needed, and click the variable you want to delete.
Tip: Use the search field to narrow down the list if needed. - In the upper-right corner of the panel, click the Delete icon
 .
.
A message appears prompting you to confirm your intention. - Click Confirm.
View usage information for a variable
- In the left-hand pane of the Variables resource panel, expand the appropriate category, if needed, and click the variable of interest.
Tip: Use the search field to narrow down the list if needed.
The number of references to this variable in the current project appears next to the variable’s name in the right-hand pane.
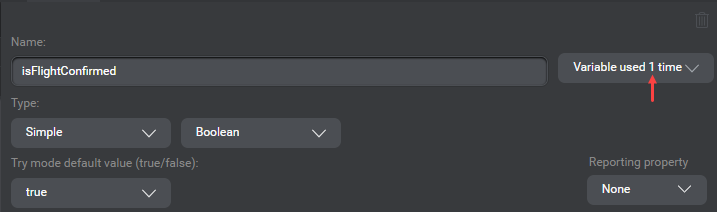
- Click the usage count.
A list of all nodes, global and channel-specific recovery and confirmation messages, as well as any message resources that include references to this variable appears.
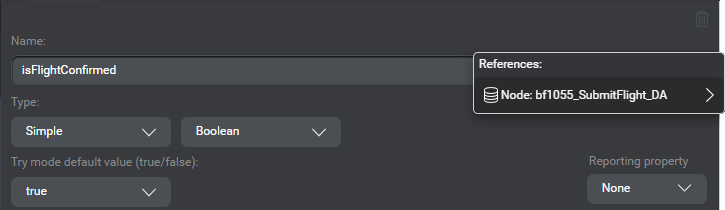
- Click a reference in the list to navigate to the node or Project Settings panel or Messages resource panel section that has the message reference.
Mark a variable with a reporting property
- In the left-hand pane of the Variables resource panel, expand the Simple category, if needed, and click the variable you want to mark with a reporting property.
Tip: Use the search field to narrow down the list if needed. - Expand Reporting property, and choose the desired property: either Attribute, Dimension, Metric, or Sensitive.
If a variable no longer has any reporting purposes, choose None.
Note:
Changing the type of a variable resets its reporting property. Predefined simple variables don’t have a reporting property.Create a schema
- Click the Add icon next to Schema.
- Enter a name for the schema (see Naming guidelines).
The new schema appears in the Schema category.
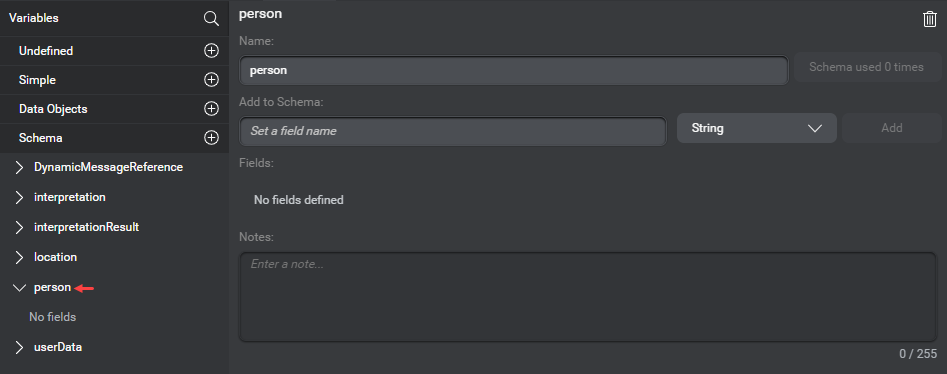
- Use the fields under Add to Schema, in the area on the right-hand side of the panel, to add the desired fields (see Naming guidelines), and set their type.
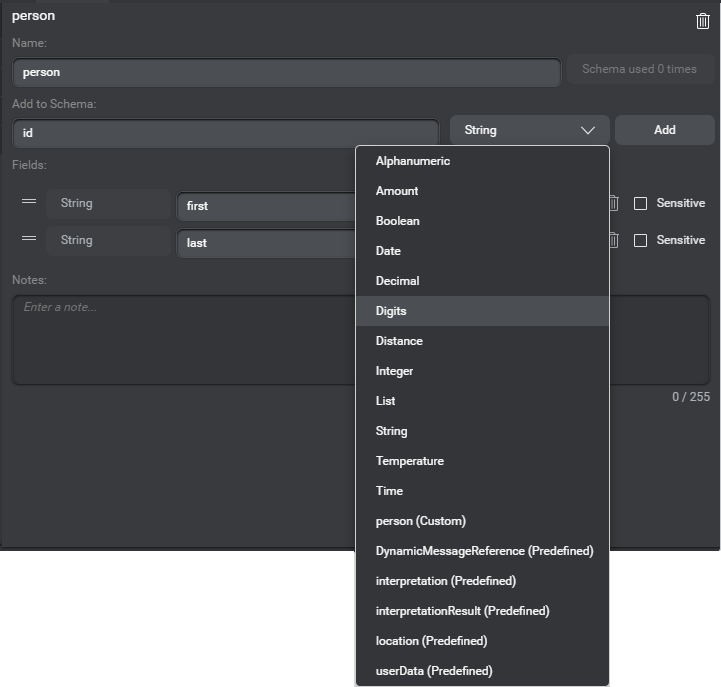
- If some fields will be holding sensitive information, mark them as sensitive.
- Add notes (maximum 255 characters), if desired.
Rename a schema
- In the left-hand pane of the Variables resource panel, expand the Schema category, if needed, and click the schema you want to rename.
Tip: Use the search field to narrow down the list if needed. - In the right-hand pane of the panel, click the schema name.
The name becomes editable. - Modify the name as desired (see Naming guidelines).
Delete a schema
- In the left-hand pane of the Variables resource panel, expand the Schema category, if needed, and click the schema you want to delete.
Tip: Use the search field to narrow down the list if needed. - In the upper-right corner of the panel, click the Delete icon .
A message appears prompting you to confirm your intention. - Click Confirm.
Rename a field in a schema
- In the left-hand pane of the Variables resource panel, click the desired schema.
Tip: Use the search field to narrow down the list if needed. - In the right-hand pane of the panel, click the field you want to rename.
The name becomes editable. - Modify the name as desired (see Naming guidelines).
Change the type of a field in a schema
- In the left-hand pane of the Variables resource panel, expand the appropriate schema, and click the field whose type you want to change.
Tip: Use the search field to narrow down the list if needed. - Use the fields under Type, in the area on the right-hand side of the panel, to set the desired type.
- (Optional) Add a display value, and notes (maximum 255 characters), if desired.
Change the order of the fields in a schema
Use the handle icon ![]() to drag a field up or down, until all fields are in the desired sequence.
to drag a field up or down, until all fields are in the desired sequence.
Delete a field in a schema
- In the left-hand pane of the Variables resource panel, click the appropriate schema.
Tip: Use the search field to narrow down the list if needed. - In the right-hand pane of the panel, click the Delete icon , next to the name of the field you want to delete.
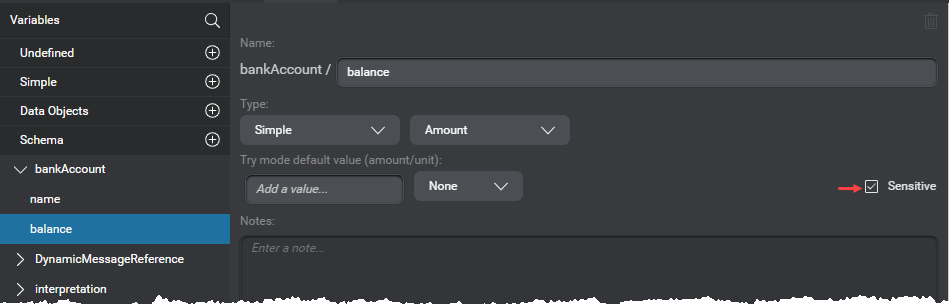
Mark a field as sensitive in a schema
For complex variables, fields marked as sensitive in the base schema are masked in application logs.
- In the left-hand pane of the Variables resource panel, expand the appropriate schema, and click the field you want to mark as sensitive.
Tip: Use the search field to narrow down the list if needed. - Click the Sensitive check box to select it.
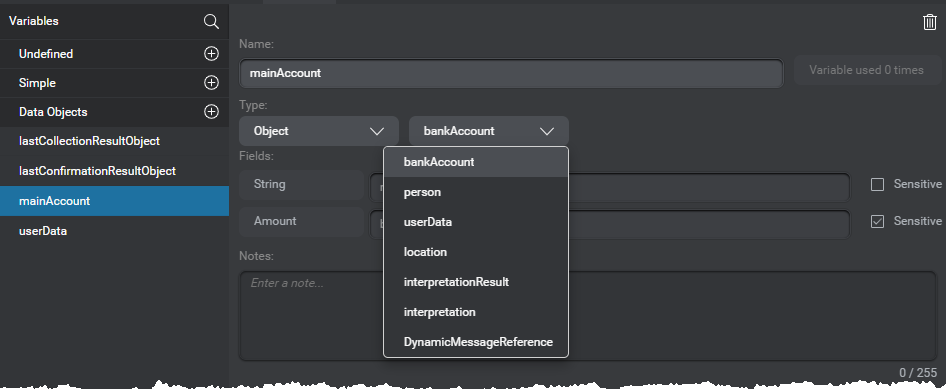
Create a complex variable
- Click the Add icon next to Data Objects.
- Enter a name for the complex variable (see Naming guidelines).
The new complex variable appears in the Data Objects category. - On the right-hand side of the panel, choose the desired schema from the second list, under Type.
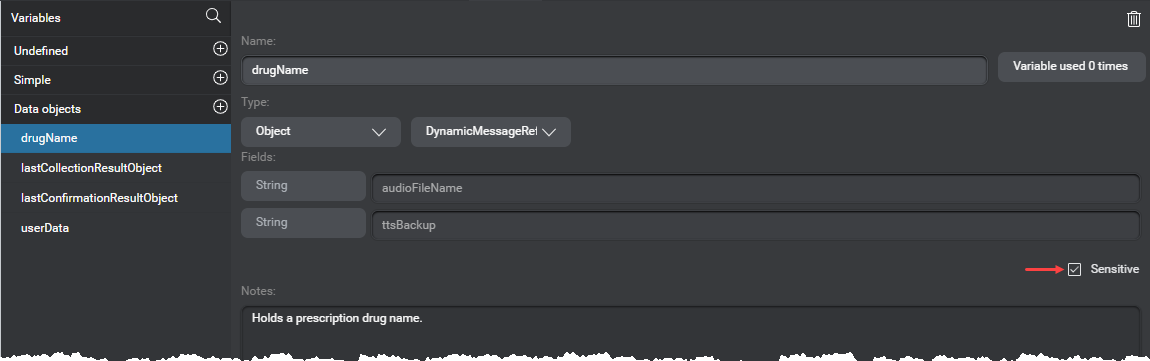
- In the case of a variable based on the DynamicMessageReference schema, if it will be holding sensitive information (for example, prescription drug names), mark this variable as sensitive.
- Add notes (maximum 255 characters), if desired.
Note:
Before using complex variables in assign actions within your dialog design, or sending them to external systems that don’t support null inputs, you must preinitialize them.Mark a complex variable as sensitive
This section applies to complex variables based on the DynamicMessageReference schema only.
- In the left-hand pane of the Variables resource panel, expand the Data Objects category, and click the variable you want to mark as sensitive.
Tip: Use the search field to narrow down the list if needed. - Click the Sensitive check box to select it.
Feedback
Was this page helpful?
Glad to hear it! Please tell us how we can improve.
Sorry to hear that. Please tell us how we can improve.