Set up a data access node
Use data access nodes to exchange information with a backend system. For example:
- In a coffee shop application, look up the price for the specified coffee type and size
- In a coffee shop application, look up special coffee types that might only be available on specific occasions, to complement the regular menu
- In a banking application, look up all payees registered for the specified user
- In a pharmacy application that allows users to refill their medication, check whether the specified medication is valid for the current user and whether it’s available at their preferred location
- In an IoT application, trigger an action such as turning on the water heater, for the user
- Send a message into a messaging bus system
Remember that the client application or a dedicated backend are often better suited than the dialog model to perform conditional logic, such as iterating through lists to verify, for example, whether a medication is listed in the user’s file and that the maximum number of refills hasn’t yet been reached.
Warning:
Client applications generated from dialog designs use data access node names as identifiers. For this reason, the name of a data access node must not start with a number and cannot include spaces. Use underscores as separators if desired. See Naming guidelines, for more information.Click a data access node on the design canvas, to see its properties in the Node properties pane.
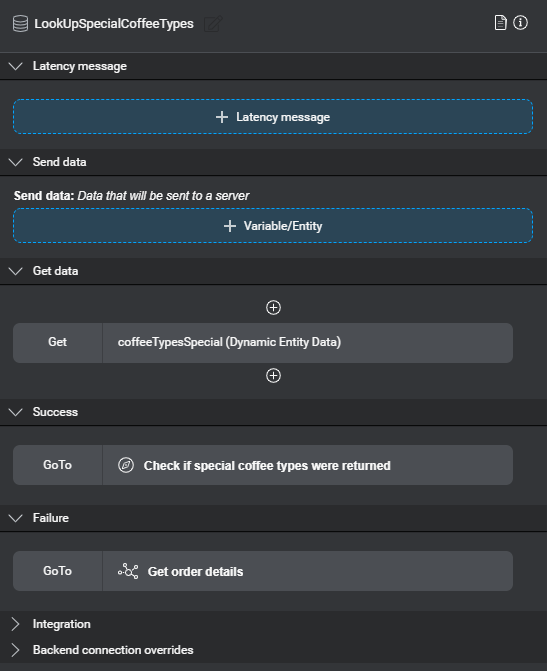
To set up a data access node:
- Specify a latency message if desired.
- Specify data to send to the backend, if any.
- Specify data to get from the backend, if any.
- Specify where to go with the returned data.
- Configure backend connection details, if required.
Specify a latency message
- Click + Latency message.
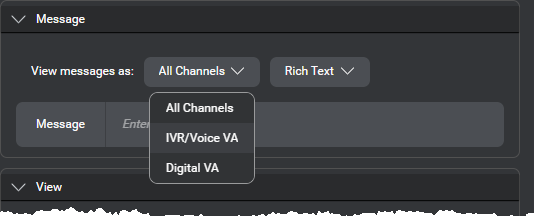
The fields that appears let you set a message, formatting parameters (for text output), and properties to determine when to show or play the message, and for how long (for audio output). - If the latency message must be limited to a specific channel, choose the desired channel.
- Click the message placeholder.
This opens the message editor. - Use the message editor to create your message.
Tip: In the message editor, you can click the Library icon to open the Messages resource panel and add variations to your latency message, for other channels and output modalities. - (Optional) Use the View messages as selectors to review any message variations, by channel and output modality, directly on the compact message.
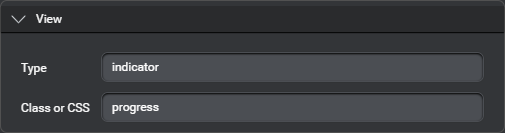
Once you have selected a modality, your selection persists as long as the current channel supports it. If you switch to a context where the applicable channel doesn’t support the selected modality, the modality selector falls back to the first modality available for the current channel. - (Optional) If the latency message is meant to appear in a text form, in the View area, specify formatting information to pass to the client application.
Type and Class or CSS are freeform parameters—the client application is responsible for interpreting them.
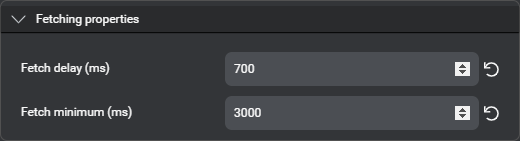
- (Optional) If you wish to override the global fetching properties for you project, set the desired Fetch delay and Fetch minimum values.
Remove the latency message
Click the Delete icon ![]() in the upper-right corner of the Latency message section.
in the upper-right corner of the Latency message section.
Note:
Removing a message from a node only deletes the reference to the original message resource. The global resource remains available in your project.Specify data to send to the backend
Self-hosted environments: Sending Last Message Object requires engine pack 2.3 (or later) for Speech Suite deployments; engine pack 3.11 (or later) for self-hosted Mix deployments.
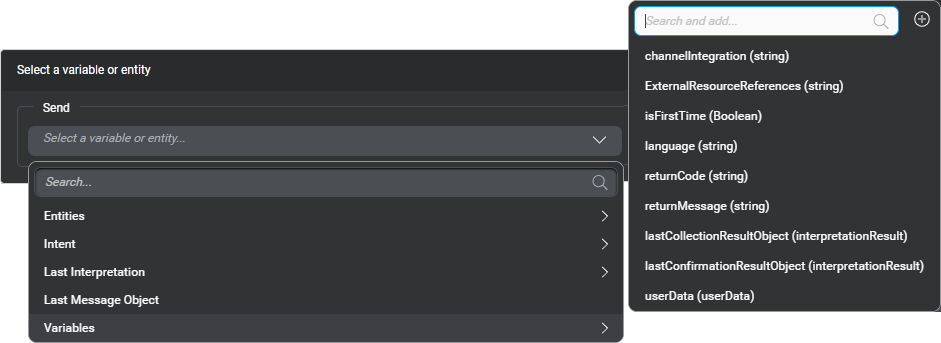
- Under Send data, click + Variable/Entity.
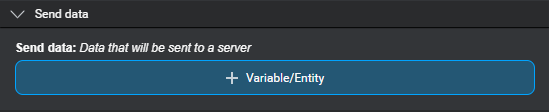
A compact Send placeholder appears.

- Click the placeholder.
An editor appears. - Use the selector to choose an element you want to send to the backend system.
You can send a variable, an entity, the messages from the last visited message node or from the latest step of the last visited question and answer node (Last Message Object), the active intent’s value, confidence score, and literal, or the interpretation results from the last collection and confirmation steps (see Predefined variables for more details).
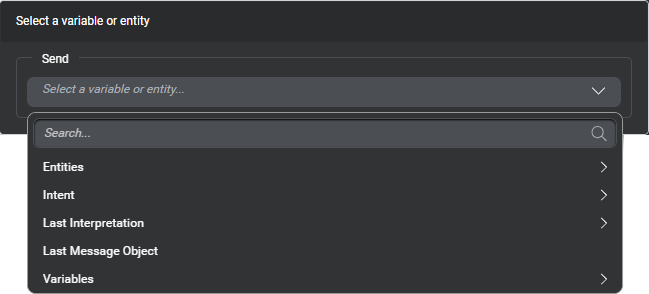
Tip: Use the search fields to narrow down the lists if needed. If a variable you want to send is missing, you can create it on the fly, and then use it immediately. - Click outside the editor to close it.
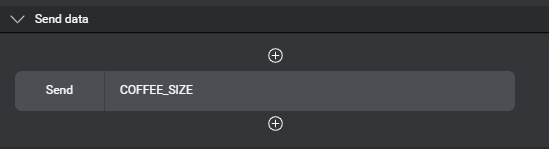
The Node properties pane shows the compact Send parameter.
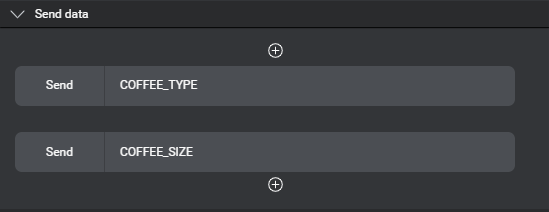
- If you want to send more elements:
- Click the Add icon
 , below or above a Send parameter, and then click Variable/Entity.
A compact Send placeholder appears. - Click the placeholder and use the selector in the editor that appears, as described above.
- Proceed in the same fashion until you have added all the variables, entities, or other elements you want to send to the backend system.
- Click the Add icon
You can reorder and remove Send parameters, if desired.
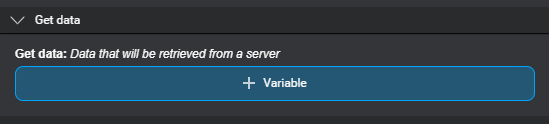
Specify data to get from the backend
Under Get data specify the variables you want the backend system to return, if any. The Dialog service expects backend systems to always set these two predefined variables: returnCode, and returnMessage. You do not need to specify them in the Get data section of your data access nodes. However, if you want to validate your data access node’s failure path in preview mode, add returnCode to the Get data section, momentarily. This will allow you to enter a non-zero value when the data access node prompts for stub values, in the chat pane.
To add Get data parameters:
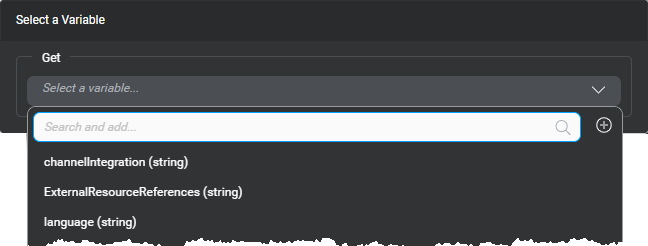
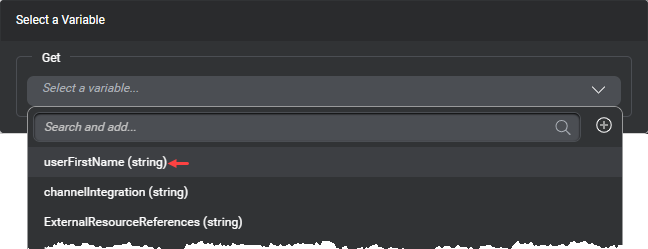
- Under Get data, click + Variable.
A compact Get placeholder appears.
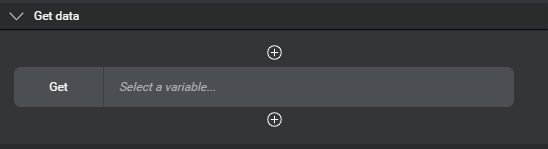
- Click the placeholder.
An editor appears. - Use the selector to choose a variable you want to get from the backend system.
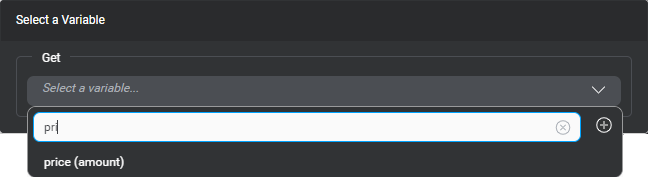
Tip: Use the search field to narrow down the list if needed. If a variable you want to get is missing, you can create it on the fly, and then use it immediately. - Click outside the editor to close it.
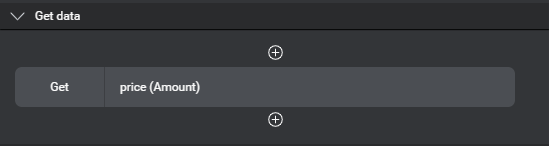
The Node properties pane shows the compact Get parameter.
- If you want to get more variables:
- Click the Add icon , below or above a Get parameter, and then click Variable.
A compact Get placeholder appears. - Click the placeholder and use the selector in the editor that appears, as described above.
- Proceed in the same fashion until you have added all the variables you want to get from the backend system.
- Click the Add icon
You can reorder and remove Get parameters, if desired.
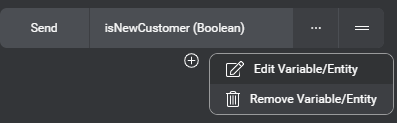
Remove a Send or Get parameter
- Bring your pointer to the right-hand side of the parameter you want to remove.
- Click the More options icon
 that appears and choose Remove Variable/Entity (for a Send parameter), or Remove Variable (for a Get parameter).
Move a Send or Get parameter
- Bring your pointer to the right-hand side of the parameter you want to move.
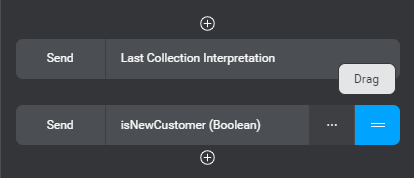
- Use the handle
 that appears, to drag the selected element up or down.
 - Drop the selected element at the desired position.
Note:
When you move a Send or Get parameter, this swaps the selected parameter and the one at the position where you drop it.Create an input variable on the fly
In the Send data section of data access nodes and external actions nodes, you can create input variables directly from the search field at the top of the Variables list. This feature is also available from the Send data section of question and answer nodes.
- Navigate to the Variables list, and click the search field.
- Enter a name for the new variable (see Naming guidelines).
- Click the Add icon .
The new variable appears in the list, with an indication that its type is string.
You can now choose the new variable. Unless the variable is meant to be of type string (default), remember to use the Variables resource panel to complete its definition. See Manage variables.
Create a return variable on the fly
In the Get data section of data access nodes and external actions nodes, you can create return variables directly from the search field at the top of the variables list.
- Click the search field.
- Enter a name for the new variable (see Naming guidelines).
- Click the Add icon .
The new variable appears in the list, with an indication that its type is string.
You can now choose the new variable. Unless the variable is meant to be of type string (default), remember to use the Variables resource panel to complete its definition. See Manage variables.
Specify where to go with the returned data
- Set the GoTo transition to perform when the external system returns a success code.
A success return code means that the dialog was able to communicate with the backend. It doesn’t mean that the backend actually returned the desired data. - Set the GoTo transition to perform when the external system returns a failure code.
Set up backend connection details
By default data access nodes support client-side integration—that is, data is to be exchanged between the dialog runtime service and the client application. In such a case, the client application itself is set up to access any required backend system and no further configuration is required for your data access node.
Otherwise, if your data access node must communicate directly with an external data host, turn off Enable client-side fetching, under Integration, and use the fields that appear to configure server-side integration.
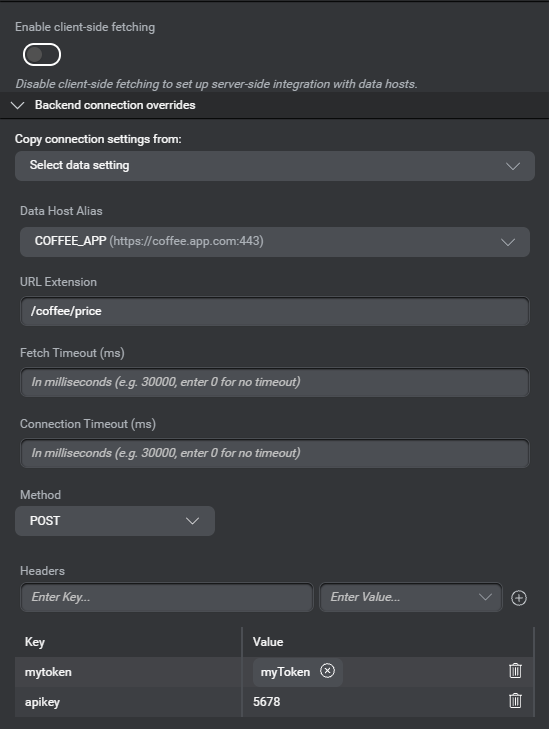
Note:
Server-side integration does not apply to the Try mode, where you can only simulate data access by using stub data.Refer to Exchange data with an external system for more information on setting up server-side integration (as opposed to client-side integration).
See also: Configure default connection settings for information on creating connection profiles you can apply to multiple data access nodes.
Feedback
Was this page helpful?
Glad to hear it! Please tell us how we can improve.
Sorry to hear that. Please tell us how we can improve.